How To Make Marshmallow Snowflakes
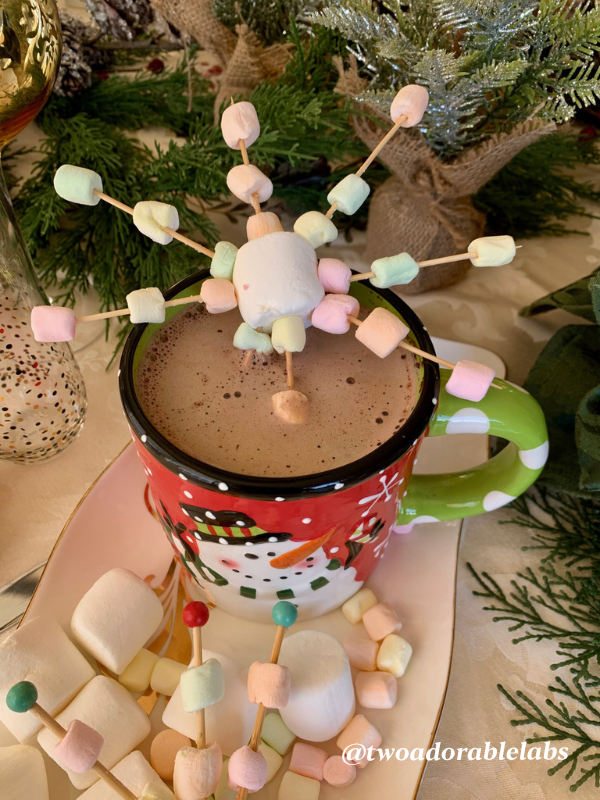
Happy Monday everyone!! These How To Make Marshmallow Snowflakes are a pretty addition to a delicious cup of hot chocolate! They are inexpensive to make, easy to create, and can be completed within a few minutes! Picture this…the snow is falling, the fireplace is on, and you have a tray of marshmallow snowflakes and cups of hot chocolate ready to drink while watching your favorite Christmas movie! Did I paint a picture of the perfect winter evening? 🙂
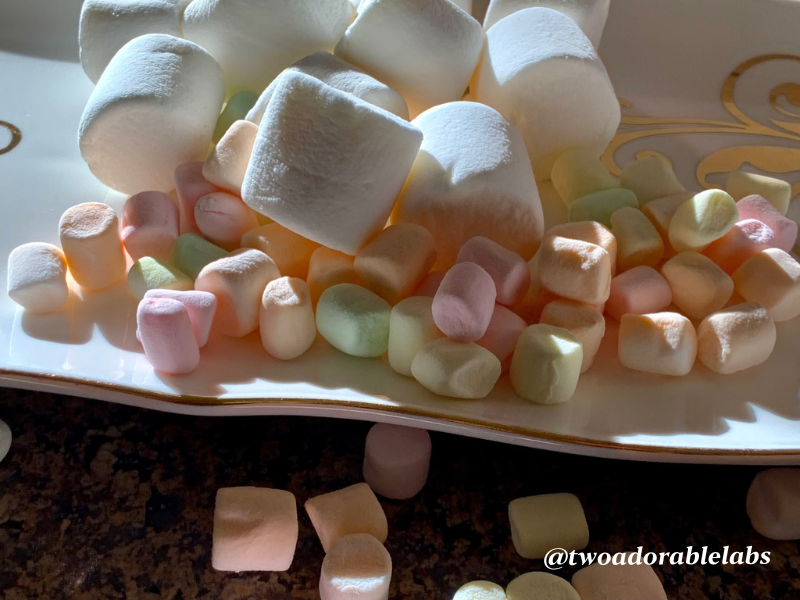
- Toothpicks – You’ll need 6-8 toothpicks per snowflake, which will act as the points of your snowflake. I used both regular long toothpicks and long decorative toothpicks I found at Costco that have red and blue wooden ball caps on the end.
- Large Marshmallows For The Center. Then, you’ll need 1 large marshmallow (the regular size) to act as the center of your snowflake. (It’s easier to attach the toothpicks & is more sturdy than the mini ones). I bought mine at Kroger and the Kroger brand was around a $1.00 something a bag. I bought 1 bag of large marshmallows and 1 bag of mini marshmallows.
- Mini Marshmallows, To Decorate. Lastly, you’ll use mini marshmallows to decorate the toothpicks & create your snowflake design. For the ones in these photos, I used 2 mini marshmallows per toothpick (for a total of 16 per snowflake).
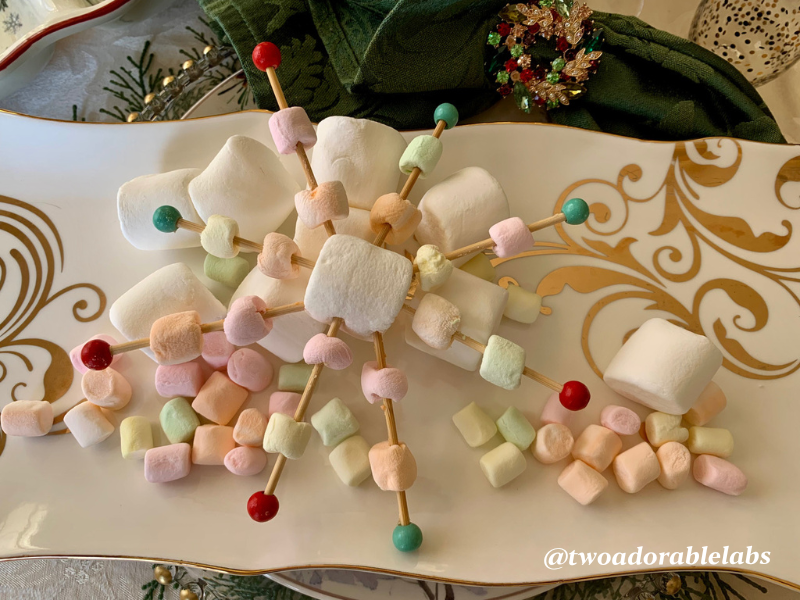
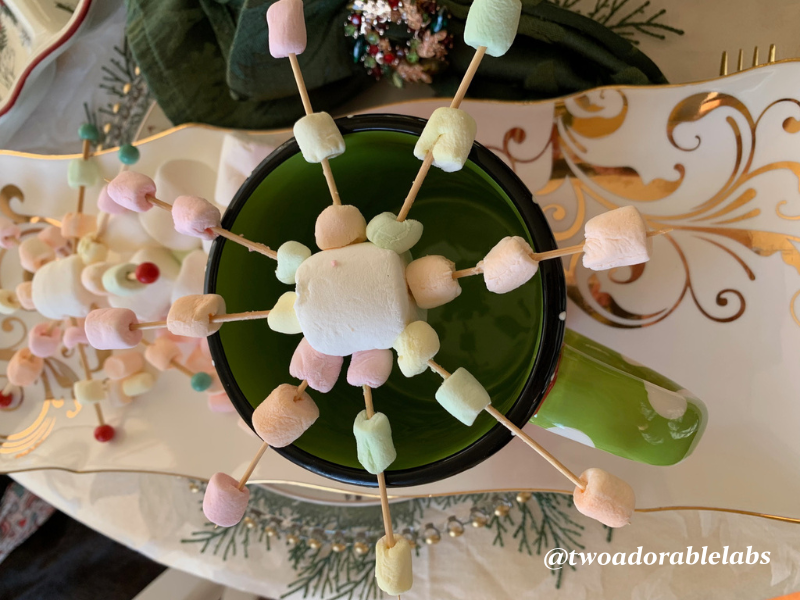
- Start with a large marshmallow for your snowflake center. For each snowflake, choose a large marshmallow to act as the center of the snowflake. Hold the large marshmallow so that the circular side (the top or bottom of the cylinder) faces you. (This makes for a prettier snowflake.)
- Add toothpicks to make the points of your marshmallow snowflakes. Insert 6-8 toothpicks around the circle (I like to do 8. I place 4 toothpicks into the center marshmallow like the points of a compass, then fill in the gaps with another toothpick in between each for a total of 8.)
- Decorate each toothpick with small marshmallows to make your snowflake design. I put 2 mini marshmallows on each toothpick, but you can create any different designs or patterns you like!)
- Then, Serve, Store, Or Display! Serve with your favorite cup of hot chocolate, or store in a zip-top bag until you’re ready to use them.
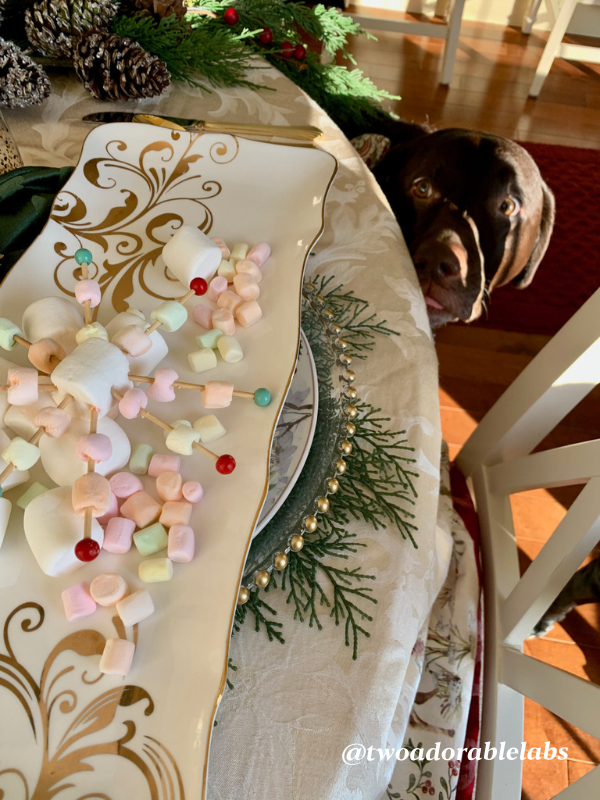
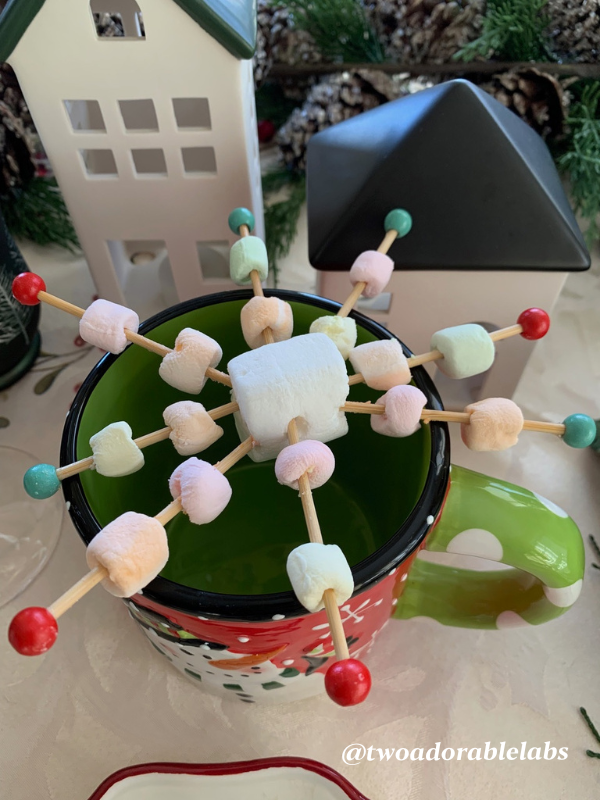
- Try using flavored marshmallows! Try peppermint marshmallows at the holidays or the multicolor mini marshmallows you can sometimes find in the grocery store like I did here. I liked the color combination plus Christmas isn’t always traditional colors anymore.
- How long do snowflake marshmallows last? Like most marshmallows, your mini marshmallow snowflakes will start to dry and harden the longer they’re exposed to the air, so to keep them fresh, you can store them in an airtight bag or airtight container. Kept this way, they’ll last 3-4 days. Out in the air, they’ll start to harden within a day or so.
- If you plan to eat and enjoy your marshmallow snowflakes instead of using them to build with, use fresh ones. They will be a bit gooey to work with but still delicious.
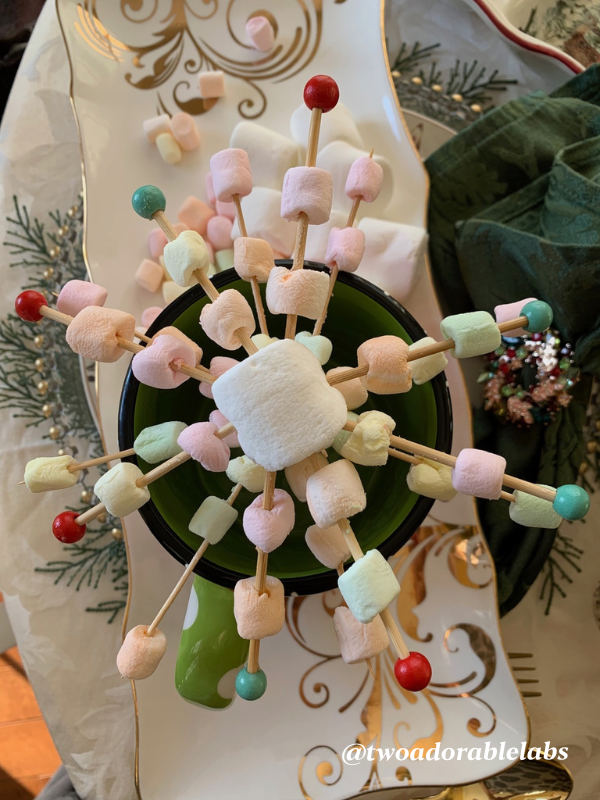
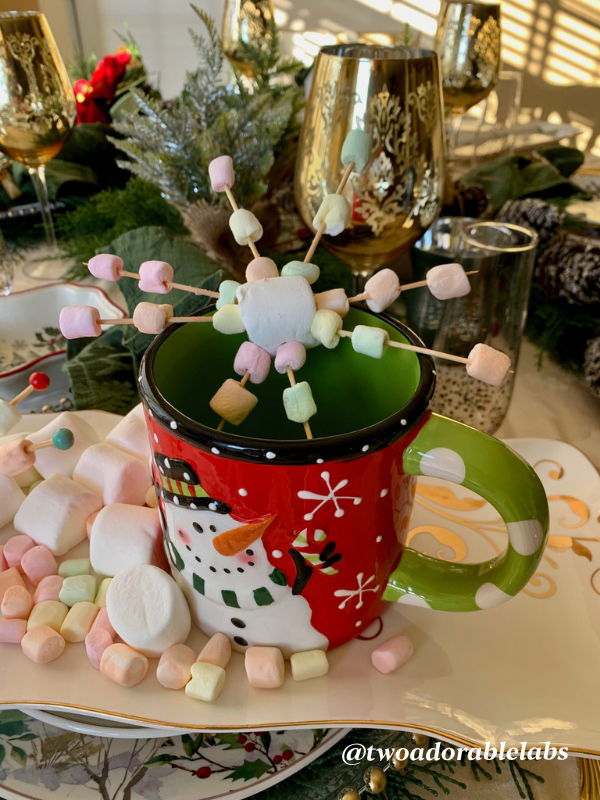
- Add chocolate candy like candy kisses or peppermint patties to your marshmallow snowflake. Just pierce the chocolate or patties with the toothpick, placing the piece closer to the center marshmallow, and then adding your mini marshmallow on the end. This makes for a heavier snowflake but so delicious in hot chocolate. You don’t have to place the snowflake on the lip of the mug. Just add to a decorative plate along side the mug or lay on top like I did in some of these photos.
- Create your marshmallow snowflakes, let sit out so that the marshmallow hardens, tie a string around it and use as an ornament. Stack the snowflake marshmallows on top of each other, seal with a dab of melted chocolate, and use in your tablescape.
- Lay snowflake on a piece of parchment paper, pour melted chocolate over snowflake, let harden, and then top with your favorite toppings. i.e., sugar crystals, candies, drizzled white chocolate, etc.


I’m Bobbi Jo, a lab-lover who took my passion for animals and dogs and turned it into something bigger. When I adopted Jake and Maggie, my love for them became the driving force behind Two Adorable Labs, and my blog was born. My hope is to not only share them with the world, but to help educate others on the importance of animal health and well-being.
I love hearing from all of you and do my best to respond to each and every one of you. I always enjoy your comments, feedback, and suggestions so keep them coming! If I’ve posted a recipe (for our human and our furry friends) and you try it, don’t forget to tag me on Instagram @twoadorablelabs and use #twoadorablelabs.
If you do try and love my recipes, I would greatly appreciate a comment and rating. I read every single one and respond to them. It also lets Google know that the website contains quality content. The more comments and 5-star ratings, the more Google will show my blog in search results! Thank you so much!
As an Amazon Associate, I earn from qualifying purchases.

You Might Also Like
Dog Friendly Canaan Valley Resort, Davis, WV
Happy Wednesday, everyone! I wrote this from Canaan Valley Resort in Davis, WV, in a cabin in the Appalachian Mountains. The weather was gorgeous, with a warm 75 degrees, but it felt cooler in the cabin due to the surrounding trees. The windows and front screen...
Why It’s Important To Look After Your Skin
Happy Wednesday, everyone! I like to change things up every now and then, and discussing skincare and makeup is something I enjoy. Why It's Important to Look After Your Skin is even more critical now that I’m in my 50s; it’s never too early to start a skincare...
Fried Philly Ribeye Steak Wraps
Happy Wednesday, everyone! I haven’t posted a recipe in a while, and these Fried Philly Ribeye Steak Wraps are incredibly filling and delicious. Fill an egg roll wrapper with juicy slices of ribeye, cream cheese, shredded mozzarella cheese, sautéed green onions,...
How To Be The Kind Of Traveler Others Are Grateful For
Happy Wednesday, everyone! How To Be The Kind Of Traveler That Others Are Grateful For. I typically talk about animals and food, but after taking a quick trip to Tennessee last year, I thought this post was fitting. I have wonderful memories of my trip to Tennessee...
Happy New Year + Fun In Pittsburgh, PA
Happy New Year everyone! Are you excited and looking forward to what the year will bring? Did you make any resolutions? I did! I do every year. Some I keep and some I don’t, but I’m excited to learn more about manifestation and manifesting what I want in both...
End Of Summer
Happy Wednesday everyone! This End Of Summer post is just that…some of the fun things Mr. TAL (If you are new to the blog, Mr. TAL is my husband Thomas - Mr. Two Adorable Labs), myself, Jake and Maggie got to do over the summer. Per my last email, I’ll be posting...



That idea is really cute! That would of been a good craft to do when I was teaching Girl Scouts. It’s easy plus you get the fun of eating after..Anybody with little kids should attempt this during the holiday season. Another great job Bobbi Jo! ????????❤️????
Thank you! You are right…kids will enjoy this. This would make a fun school project as well!