DIY Paw Print Christmas Ornament
This is a re-post: We are day 22 of The 24 Days Before Christmas! This DIY Paw Print Ornament is a perfect gift for anyone who has a furry best friend. This is for anyone looking for a last minute gift for the pet lover in your family. I got my DIY Paw Print Ornament as a gift a few years ago and included the website it came from (see below). But I’ve seen them at Pet Supplies Plus, Chewy.com, and PetSmart since then. I also saw a similar product at Gabrielle’s and Big Lots as well. I hope everyone is done with their shopping but if you are not, this is a fun activity to do with your fur baby!
Happy Wednesday everyone! We have so much going on this month and we managed to get it all done! Even these DIY Paw Print Ornaments made the list and are just so adorable. My sister bought this kit for me last year and now we have two little paw prints from Jake And Maggie to forever hang on our tree. This would make a great gift for the pet lovers in your life or for any occasion. Still wondering what to get that hard to buy for person in your life? There is still time to do some Christmas shopping! Check out my previous posts 21 Gift Ideas For Pet Lovers (HERE).
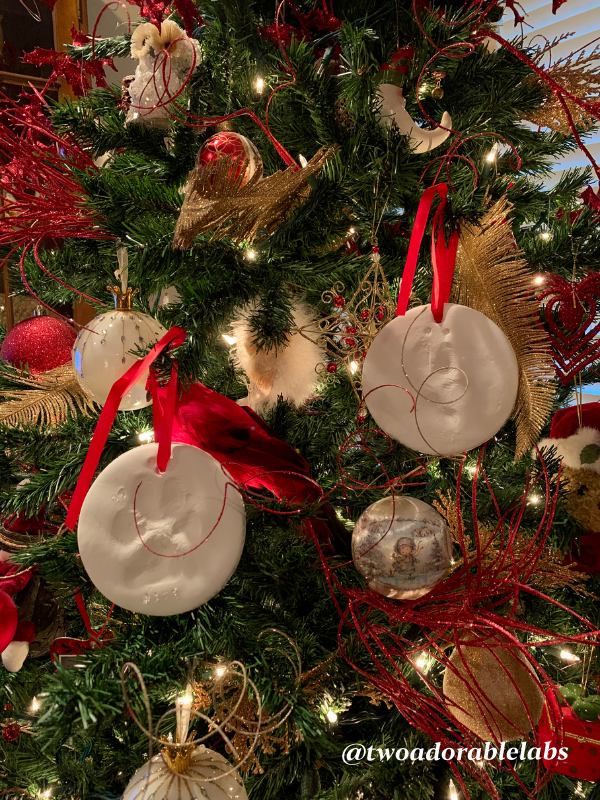
Made my Pearhead at www.pearhead.com, this impression material is non-toxic and involved no mixing, baking, or mess! This kit includes impression material, rolling pin, shaping ring, ribbon, and hole punch. Browse their baby, pet, wedding, and holiday categories for inspiration and gift giving!
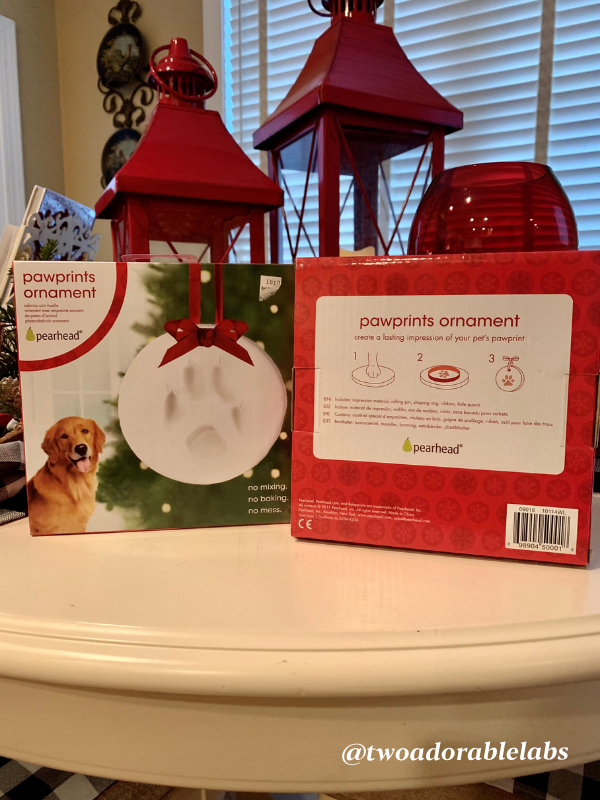
Directions:
1. This is air-drying impression material so don’t open the bag until you are ready for use.
2. Knead impression material for approximately 1 minute.
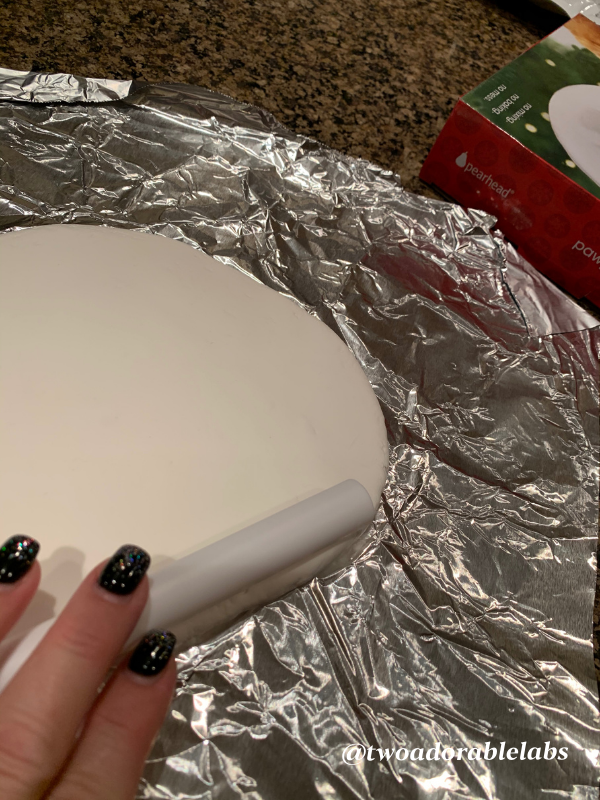
3. Place impressional material on a piece of aluminum foil when rolling out.
4. Roll impression material to approximately 1/3 inch thick.
5. Wet hand or foot before pressing into impression material.
6. Allow the finished print to air-dry in a cool dry area for approximately 48 hours. Do not heat or bake.
I wanted to take the dog’s pictures as the prints were happening but it was so difficult. They knew something was up when we came at them with foreign white material and stuck it to their paws. They immediately jerked leaving me no choice but to drop the phone and assist Thomas in getting a good print. Another thing to watch out for is when you wet your pups paws, make sure they are not saturated with water as it will lay in the print and cause it to take longer to dry.
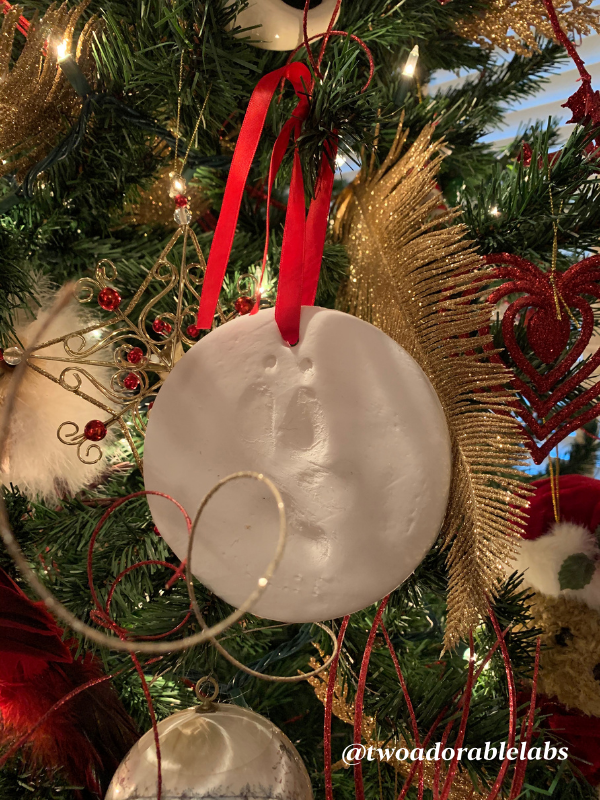
The material will dry after 48 hours into a rubbery/almost stiff form. It will not dry like clay or cement and is not a heavy ornament. I used the hole punch included, let the ornament dry, and used the red ribbon to hang them on the front of the tree for us to enjoy. Now every year when we put up the tree, we will be reminded of when Jake and Maggie were 3 years old and we captured this moment. Also, make sure you press hard into the form to capture the detail of what you are trying to imprint as the compression material is not very flexible.
Jake's Paw Print
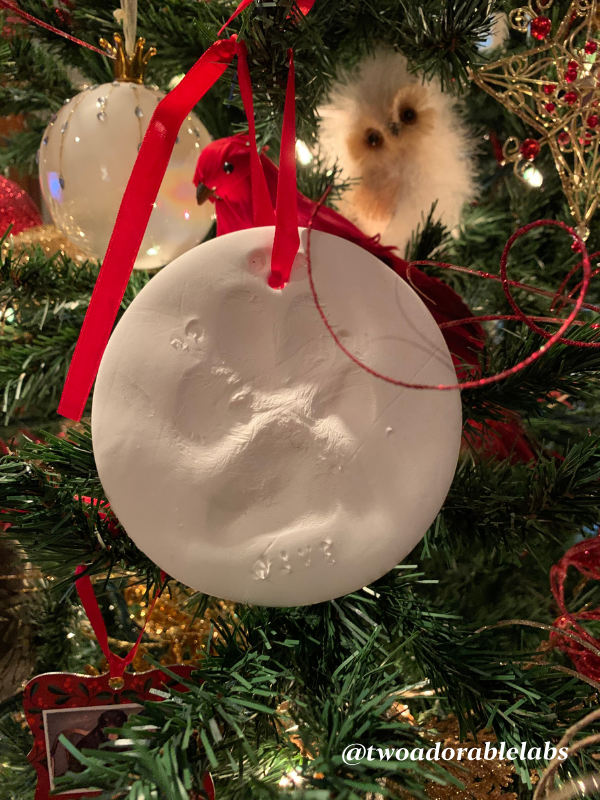
Maggie's Paw Print
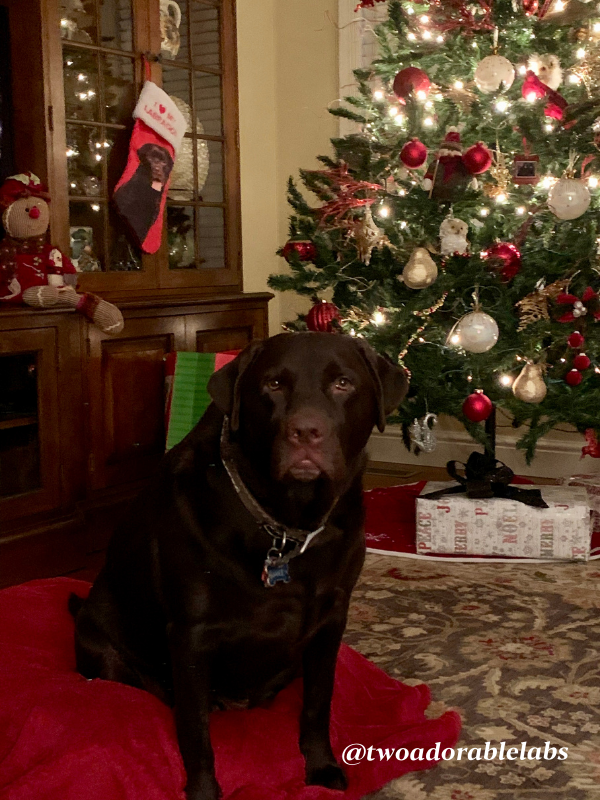
Jake listening to me tell him he has his paw print form drying in the kitchen. haa haa

You Might Also Like
What To Do If Your Dog Gets Bit By A Venomous Spider
Happy Wednesday, everyone! I was sitting on our back patio a few nights ago watching Jake watch a spider crawl in front of him. This gave me an idea for a blog post on spiders and What To Do If Your Dog Gets Bit By A Venomous Spider. Fortunately, Jake didn't make a...
Pet Cloning: What Is It And How Does It Work?
Happy Wednesday, everyone! Pet Cloning…What is it, and how does it work? I recently found an article in Modern Dog Magazine, “Meet Mella, The Cloned Winery Dog,” about how a California winery spent $50,000 cloning their dog. Before reading the article, I had two...

Aww so happy you got to use them! I love the idea of this and knew it would look just perfect on your tree for the holidays????
Yes, this was an awesome gift for me. This makes a perfect gift for any pet lover and what a wonderful keepsake to have! Now I get to put these on the tree every year. Maybe Jake and Maggie will get their own tree next year :-).