My 1920s Buffet Table Makeover
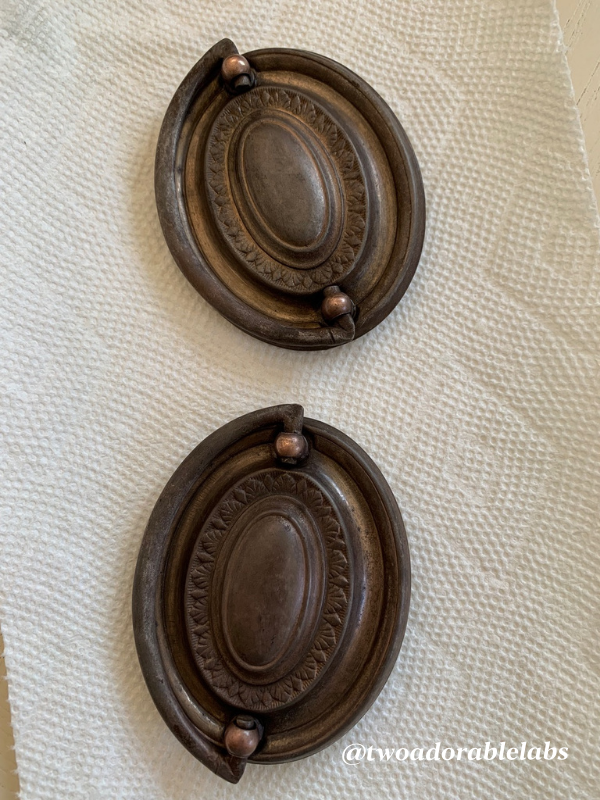
The handles and pictures that started it all!
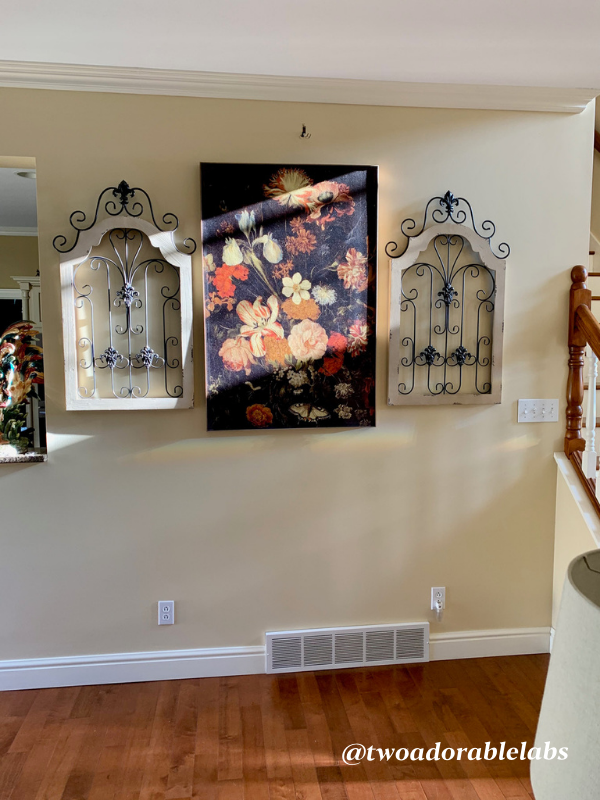
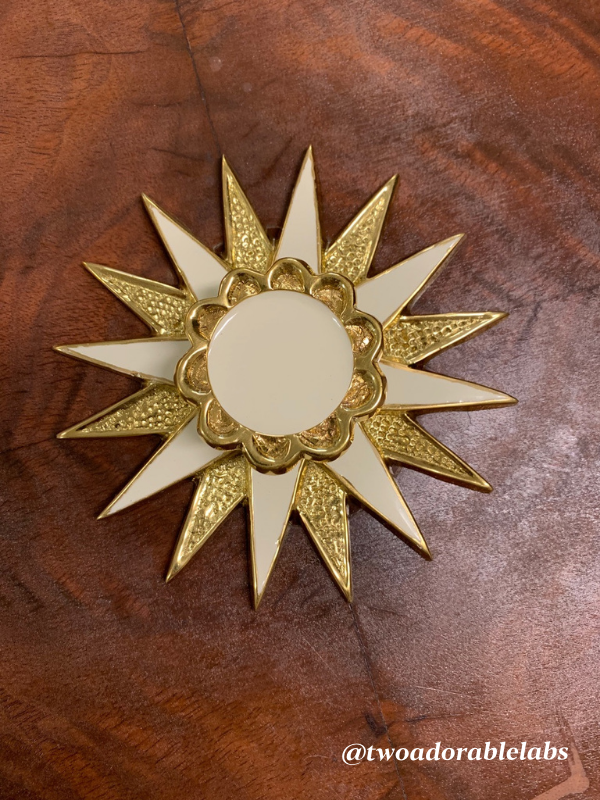
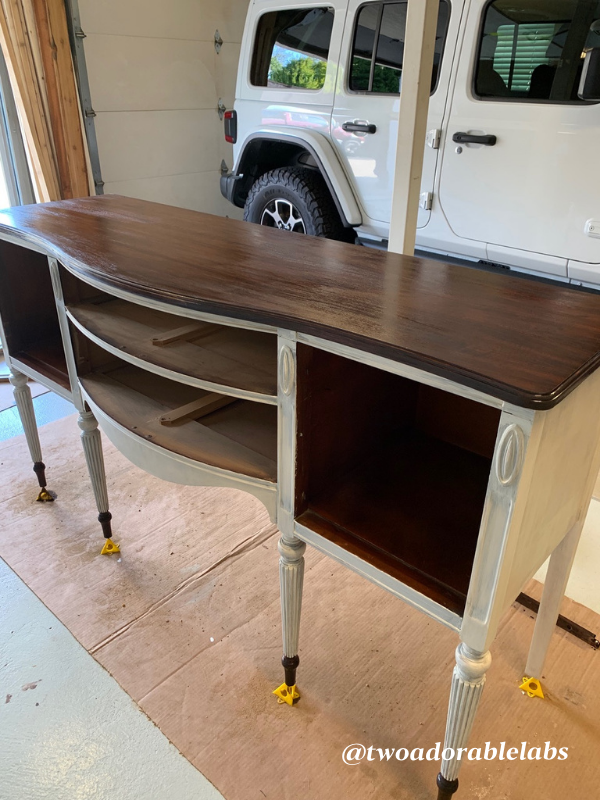
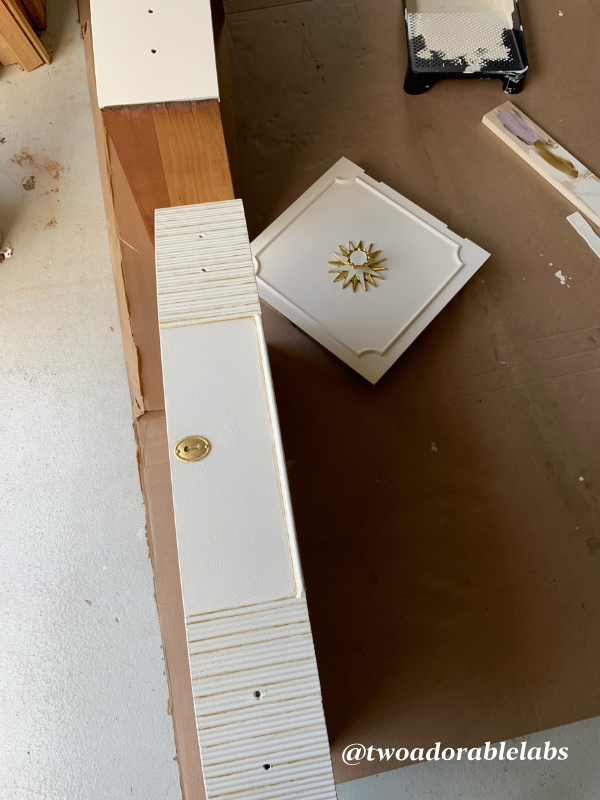
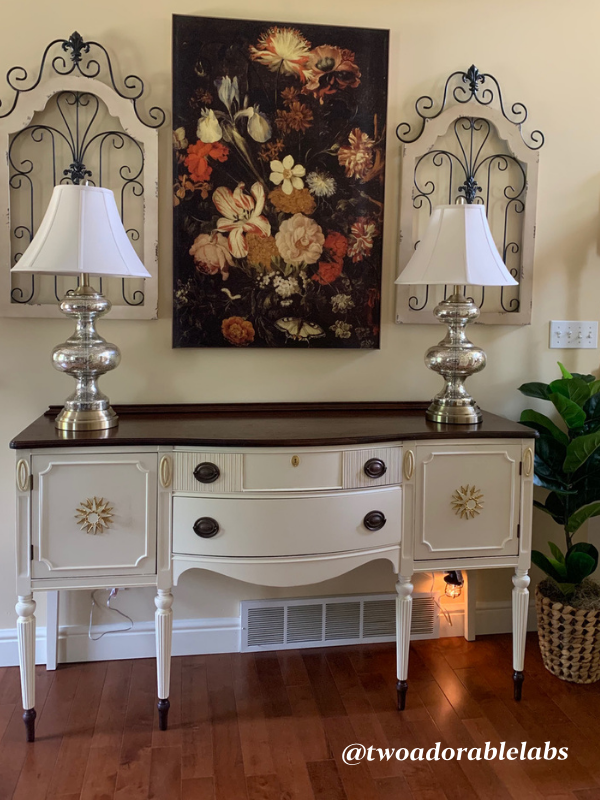
This piece was bought brand new in Pittsburgh, PA by a woman who not only had a very large family and loved to cook but also loved to shop. When she passed, the entire dining room set including this buffet was given to the granddaughter. When it was time to update her dining room, her daughter-in-law put the set on Facebook Marketplace and we bought the buffet. I thought about staining the whole piece but decided to go with my original plan on staining the top and feet and painting the body and doors. I had bought two new handles from Modern Matter and kept four old. I distressed with gold fleck paint the medallions and moldings to match the new handles.
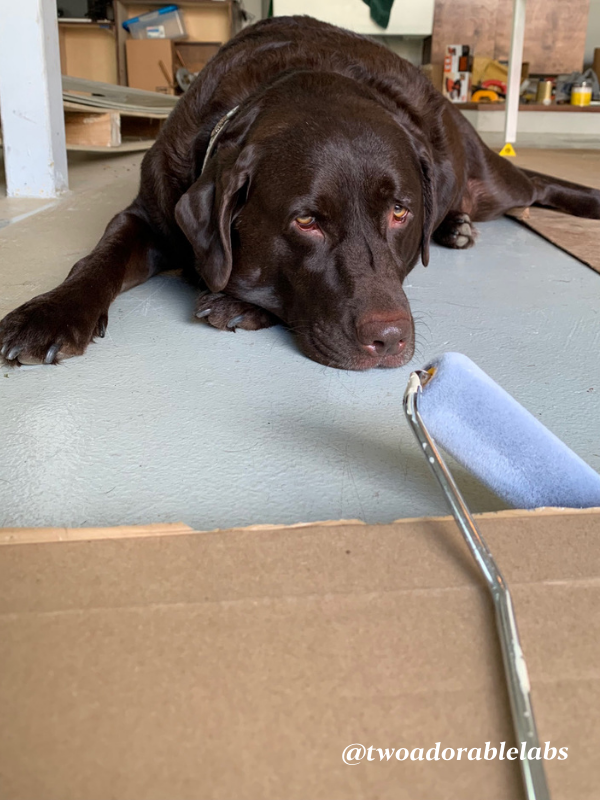
Read more to see how I completed my table, cleaning tips, etc. I hope you enjoy watching the videos and pictures to see how much Jake And Maggie helped me :-). In my videos, I talk about what I’m doing and the products I’m using. I’ve also included links in this post incase you are interested.
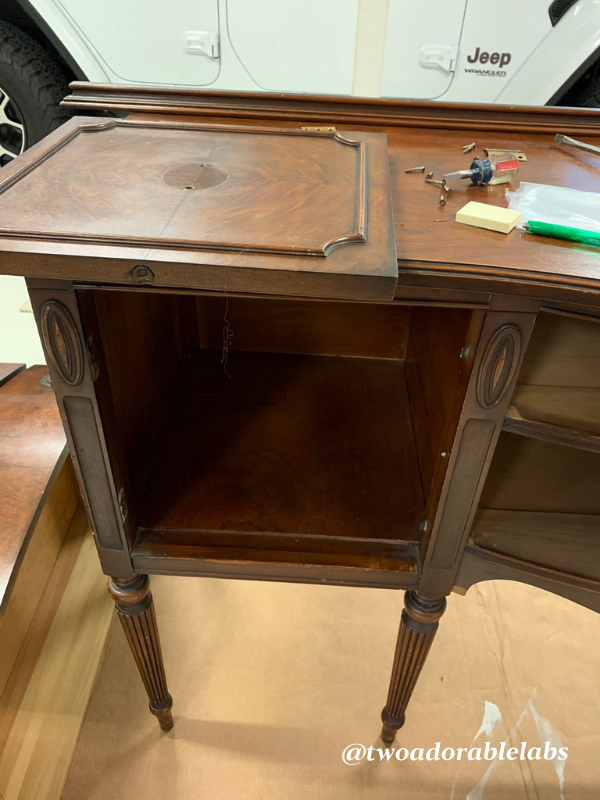
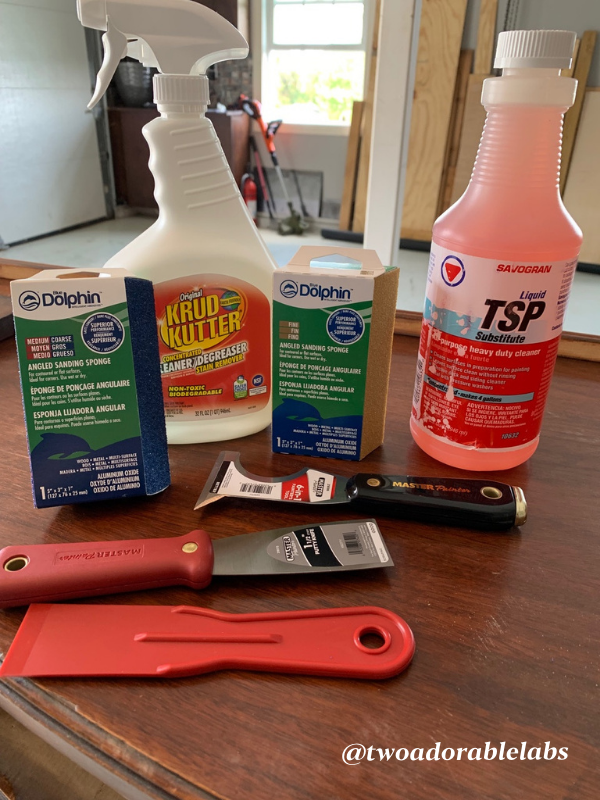
Things to consider when re-finishing furniture:
1. Vacuum your piece inside and out with a small hand-held vacuum to collect any debris left over from the previous owner.
2. Make sure you wipe the piece down with hot soapy water inside and out.
3. Dry completely with a cloth towel. Doing all of this will help eliminate pollens, dirt, and mold spores before sanding.
4. Prep your area that you will be working in with proper floor coverings, clothing for yourself, sanding tools, paint brushes, type of paint or stain you will be using, cleaning products, wood putty.
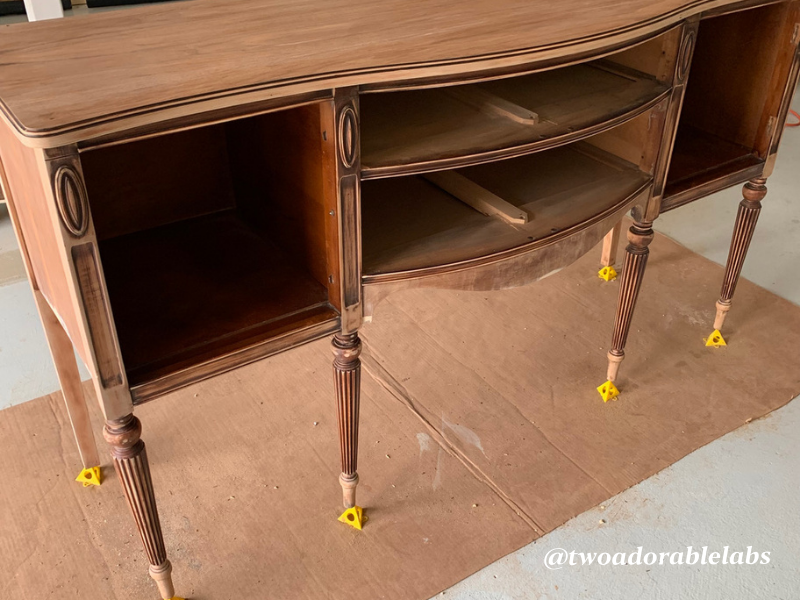
5. Invest in either table legs or a platform to prop your furniture piece on. It’s very hard painting directly on the floor.
6. Before sanding, use a degreaser to help years of build up of dirt and wax.
7. Do your research on which types of paint to use, sealants, etc. In this case I used trim and baseboard paint from Sherwin Williams called Extra White and Red Mahogany stain.
8. Make sure when you are taking off any hardware and hinges, you separate each piece with the appropriate screws and label the bags. This will make life easier when you go to put everything back together.
9. Make sure you use a primer before painting if you are using anything other than chalk paint. Using primer before painting eliminates any hard to reach stains from showing through your new paint job.
10. Make sure to wipe your piece down after sanding. I used a large bath towel and then a sticky towel to collect the missed dust particles.
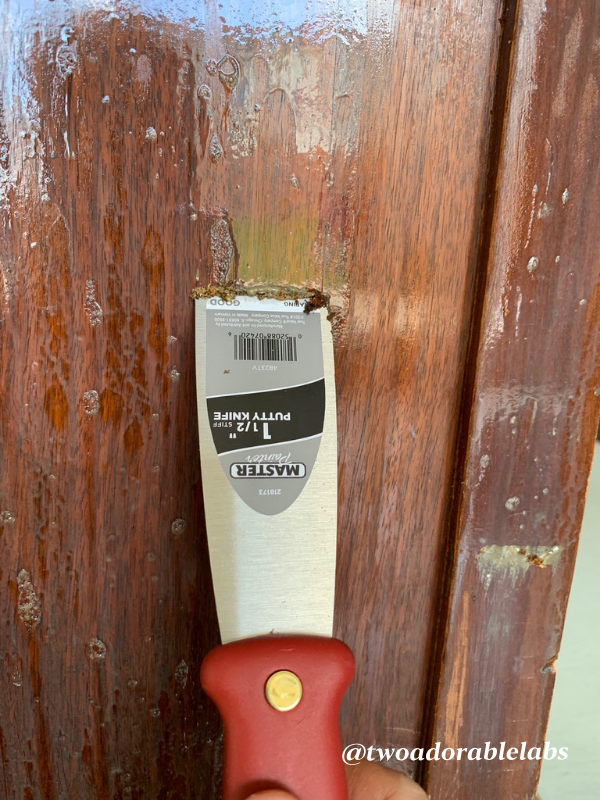
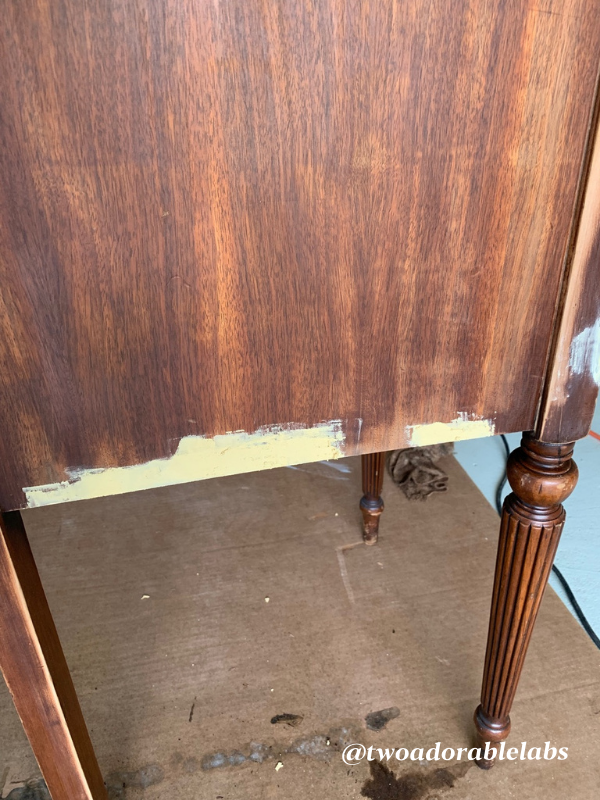
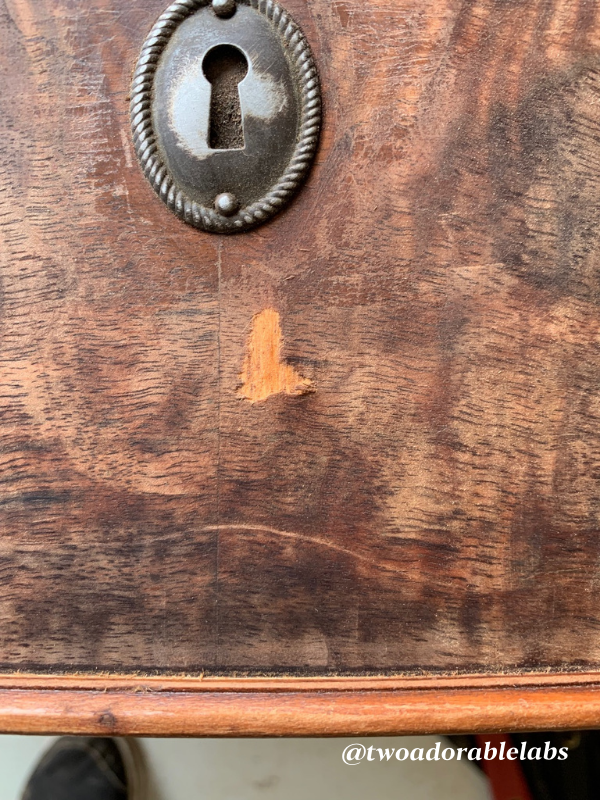
More things to consider:
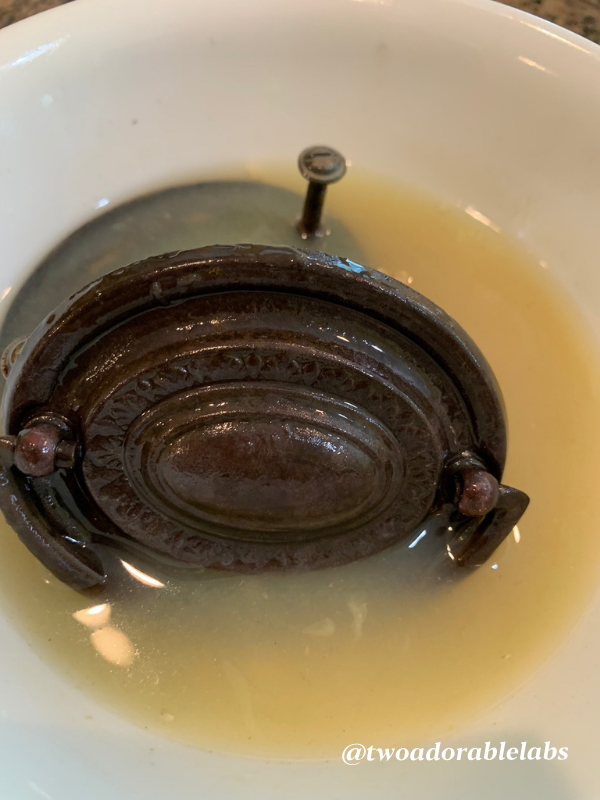
11. If you want to use the original hardware, place the hardware in a bowl of lemon juice and let sit for several hours or overnight. Scrub the pieces with a small toothbrush and salt until clean. You will not believe how well this works and takes off years of crud!
12. Do you want to paint the inside of your piece or not? In this case, I did not.
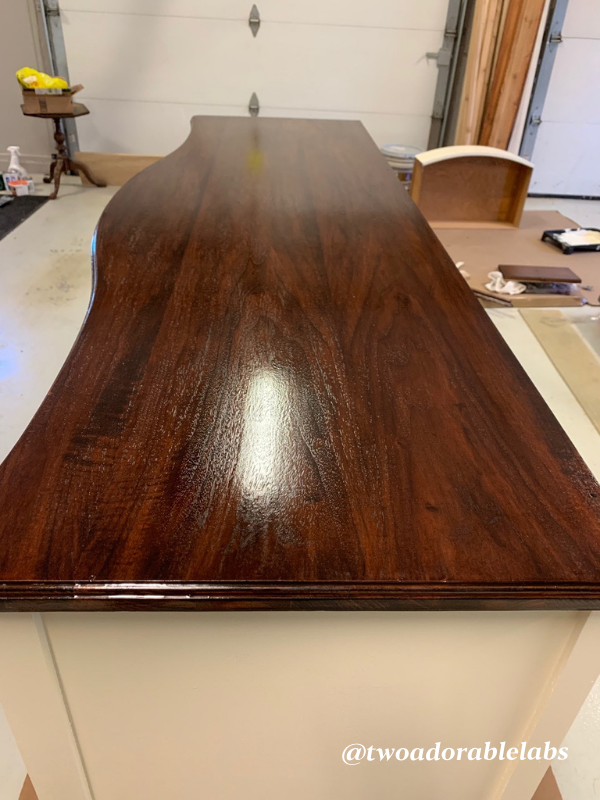
13. Use a good quality brush for staining and painting. The top only took 1 coat of stain but I used two coats of poly. I let the first coat dry completely, lightly sanded it, and poly’d once more.
14. Make sure you have different styles and sizes of brushes on hand if needed. If you have a creative mind and the ideas start flowing, you want everything accessible to help you achieve your goal.
15. Purchase sanding blocks, sanding paper in several different grit, and purchase a good quality orbital sander that has a bag to catch the dust.
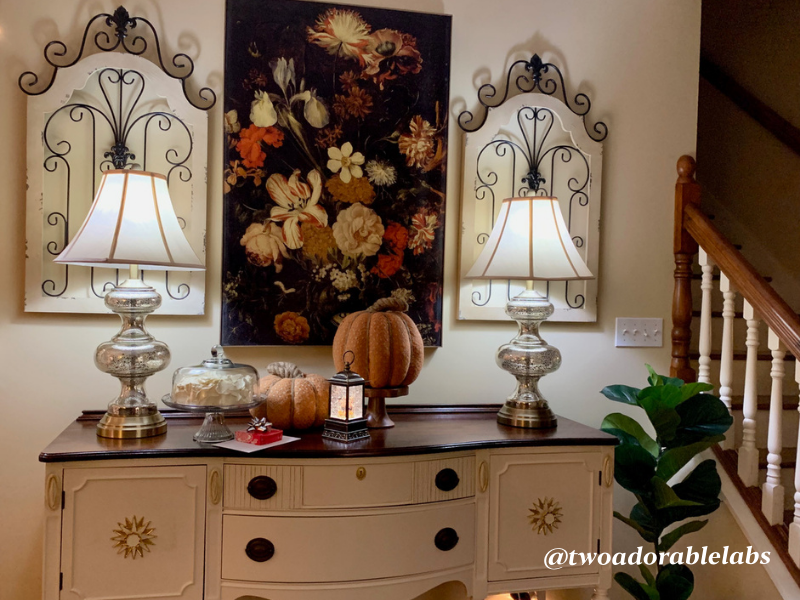
This was a bare wall that sits facing our living room and on the outside of the kitchen. I wanted something to store all of my table linens and accessories for my tablescapes. I love the lighting in the living room at night and the fact that I have extra countertop space for when I entertain. This wall sat vacant for many years and then I slowly started to purchase items to complete the look. Guess what I bought first?….The two gold and cream handles from Modern Matter! I bought handles before I bought furniture. Yep, that’s me. This was the jumping off point for everything else. Next came the floral picture!
Where I purchased everything:
Tack cloth – This doesn’t feel that great on your hands but you will love how it picks up leftover particles
Painter’s Pyramid Stands – These are great for keeping your furniture elevated during painting and sanding. I got mine at Amazon but Lowe’s has them as well.
Buffet – Facebook Marketplace (location Pittsburgh, PA)
Paint – Sherwin Williams – Color is called Extra White in Satin. This is the same color as my doors, trim, and baseboards in my house. It’s more of a light cream than an extra white.
Stain – Sherwin Williams – Red Mahogany
Polyurothane – Sherwin Williams – Make sure that when you buy oil based stain, you get old based poly and vise versa with water base.
Handles – Modern Matter
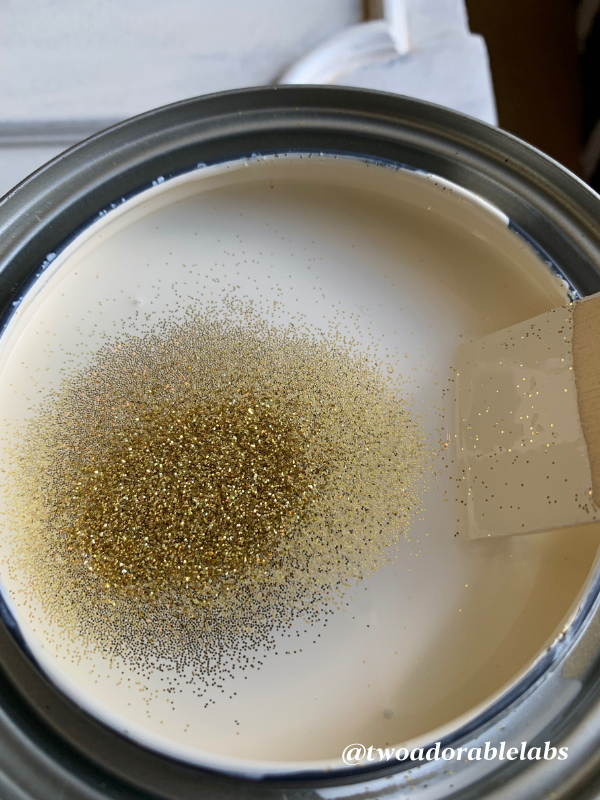
Gold flecks – JoAnn Fabric and Lowes. I added gold flecks to the paint can because I wanted some shimmer showing when the light hit my buffet table.
Lamps – At Home Store
Floral Picture – The Berlin Gift Barn in Berlin, OH
Wall Scroll Art – Country Door
Mistakes I made:
1. I sanded one of the drawers to hard and tore the vinyl. I had to repair with wood putty and lightly sand down the bumps.
2. Not painting enough of the inside edge where the doors and drawers fit. When I put the piece back together, I could see the old color stain around the new painted doors. I have to take everything out again and paint inside.
3. Don’t be in a hurry to get your piece done. It’s hard to do but take your time. Allow the stain to dry before you put the poly on it. Allow your paint to dry before touching. You don’t want little finger prints on your newly finished piece!
4. Take your time sanding. I admit I got into a hurry because I was excited to get to the painting part of the project. You want a smooth surface to work on.
5. If it’s possible, work in a climate controlled room. I refinished this piece in my garage. It was hot and muggy outside and then rained a few days which did not help with drying time. The whole project took me approximately two weeks from start to finish.
6. If you have a scratch, dent, or torn laminate, be careful not to add a lot of putty to the spot. Otherwise, it will be hard to sand off giving you a flat surface. Also, make sure your putty is dry before sanding or it will clump up under the sandpaper.
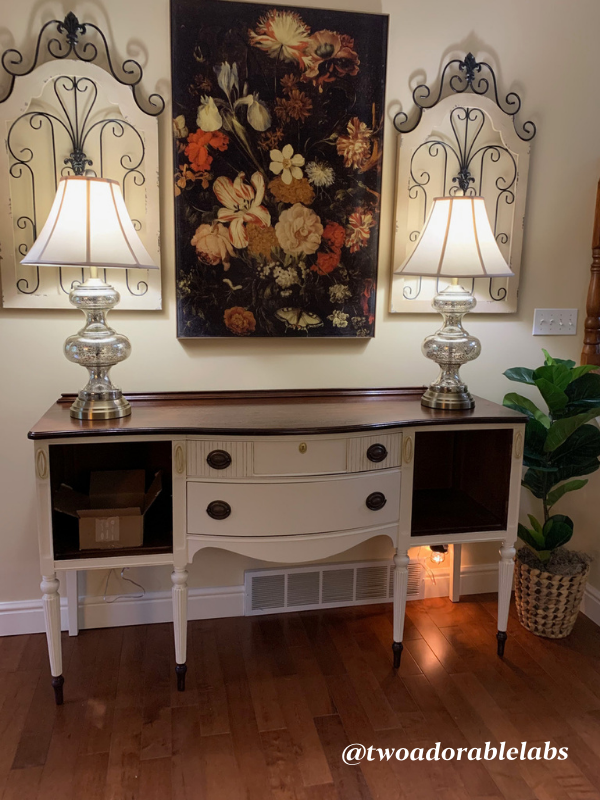
I hope you enjoyed this tutorial and makeover. If you have any questions, don’t hesitate to comment below or email me! Want to update a room in your house, check out my Revive and Refresh package! I would love to help with your next project. In this case, I had one little wall that needed some love and I made my vision come to life. I hope you like it.
Looking for more interior design and DIY posts, check them out here:
I love hearing from all of you and do my best to respond to each and every one of you. I always enjoy your comments, feedback, and suggestions so keep them coming! If I’ve posted a recipe (for our human and our furry friends) and you try it, don’t forget to tag me on Instagram @twoadorablelabs and use #twoadorablelabs.
If you do try and love my recipes, I would greatly appreciate a comment and rating. I read every single one and respond to them. It also lets Google know that the website contains quality content. The more comments and 5-star ratings, the more Google will show my blog in search results! Thank you so much!
As an Amazon Associate, I earn from qualifying purchases.

You Might Also Like
Bows And Hearts Tablescape
Happy Wednesday, everyone! Today I'm showcasing my Bows and Hearts Tablescape in traditional Valentine's Day colors. I found these adorable pink bow dinner plates and salad plates at Hobby Lobby and completed the table with items I had from previous years. I think...
What Are The Health Hazards Of Walking A Dog During Winter?
Happy Wednesday, everyone! What Are The Health Hazards Of Walking A Dog During Winter? Maggie loves playing in the snow, but the major snowstorm that rocked our area on Sunday made it hard for us to stay out and play as long as we normally do. We got about 14...
30 Tips And Statements On What Pup Parents Wish They Knew Before Getting A Dog
Happy Wednesday, everyone! I’ve been volunteering at the Hancock County Animal Shelter and spending time with my cousin’s dog, Jasmine (yes, she is still there). As I watch people come in, I wonder whether they are seasoned dog owners looking for another addition to...
5 Different Dog Cuddling Styles and What They Mean
Happy Wednesday, everyone! Do you have a dog who loves to snuggle, or one who gives you a minute or two of attention and then walks away? Do you think Dogs Snuggle With their Alpha? This article, based on research and from www.paradepets.com, on the 5 Different Dog...
What Your “Hello” To Random Dogs Quietly Reveals About You
Happy Wednesday, everyone! Do you find yourself saying “hi” to random dogs? Maggie gets so much attention when we take her places, but what I really appreciate is when strangers ask if it’s ok to pet her. It gives me a minute to assess the situation, read Maggie's...
Merry Christmas 2025
Wishing everyone a wonderful holiday filled with cheer, cozy moments, family, friends, and plenty of delicious food shared around the table. May this season bring you joy, peace, and time spent doing what you love most. I also want to take a moment to thank each and...





Good example of how great vision mixed with hard work produces a beautiful piece.
Awh thank you! I appreciate that.
WOW, WHAT A TRANSFORMATION! CAN’T BELIEVE ALL IT TAKES TO REFINISH A PIECE OF FURNITURE. YOUR PATIENCE & GIFTED TALENT PRODUCED A STRIKING FINISH. BRAVO!!!!!
Awh thank you so much! I appreciate it. Such a lovely compliment.
Love, love, love it!!! I can’t believe the transformation from beginning to end. Such a lot of work but what a masterpiece! I just love the style of the piece. It is so unique and different than anything you see today. Thanks for the detailed video it was very informative. You aced it again Bobbi Jo! ????????❤️????
Thank you so much! Yes, as soon as I saw this piece, I knew it was what I was looking for. I attached 4 instructional videos along with my photos so I hope I can help someone out there who is doing the same thing for the first time. :-).
I watched your tutorial video on refinishing your buffet table. It turned out absolutely beautiful! It WA a lot of work but well worth the effort. It looks perfect in that spot with your beautiful wall arrangement above it! Another fantastic job!
Awh thank you so much! I appreciate your support and your nice comments. Yes, it was a lot of work. haa haa