Our Shed Revamp
Happy Monday everyone!!! Our Shed Revamp has been on our to-do list for a while now! You will see why as you follow along :-). The culprit is in one of the photos!
Last week I promised a home remodeling project and I’m excited to share not only a new category to the blog but our custom shed doors and extra storage Thomas and I built together.
If you have some time, check out our website and new category “Jake’s Garage” where I will be adding posts about home remodeling, welding projects, that Mr. TAL (Thomas) and I have worked on plus electrical safety. If you click on the tab “Electrical Engineering” it will take you directly to his new site where he talks about all things electrical and safety.
We now have “Jake’s Garage” after our sweet Jake and “Maggie Lane Designs” after our sweet Maggie. This is where I will store all things home decor, interior design, gardening, and tablescapes!
Jake And Maggie are our world. You will see them throughout these posts as we combine our passions with them! Enjoy!
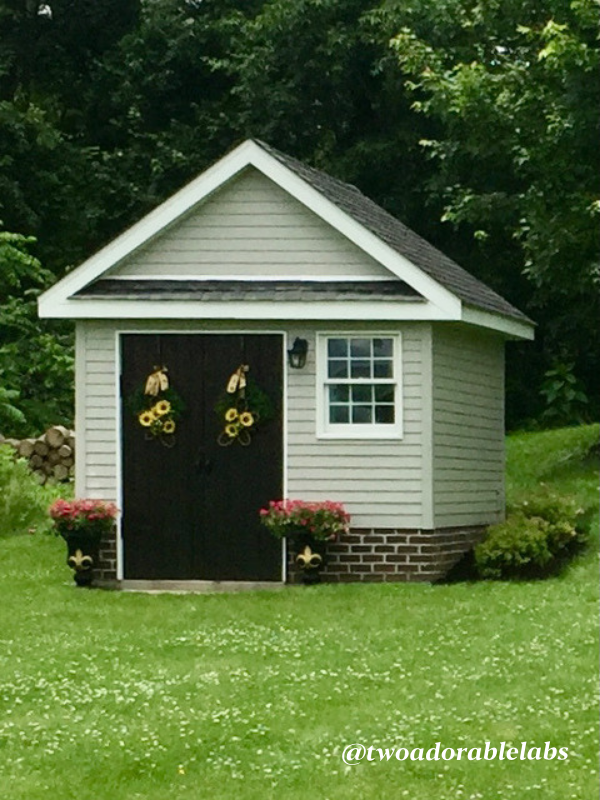
This is an older picture of our shed when we just gave the doors a fresh stain and I prettied it up with potted plants and decorative wreaths. We had one small light that barely lit up the front. The shed is built in an “L” shape with the right side shorter than the left.
We eventually added a lollipop rose bush from Iannetti’s Flower Garden and summer faded into fall. Here Jake is totally unimpressed with these slight changes. LOL!
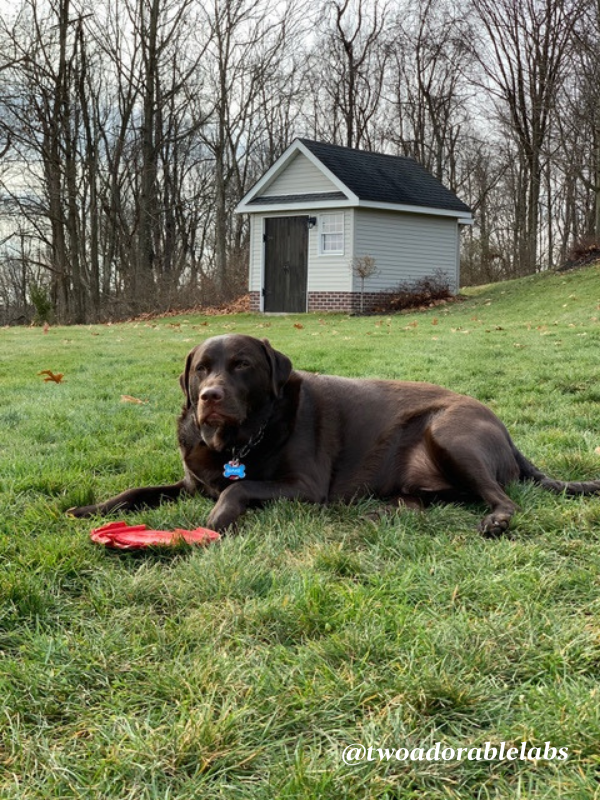
Day 1!
Now the good stuff! Demolition!!! The cedar doors were taken down, the window popped out, electrical was relocated, and the Hardy Board was removed.
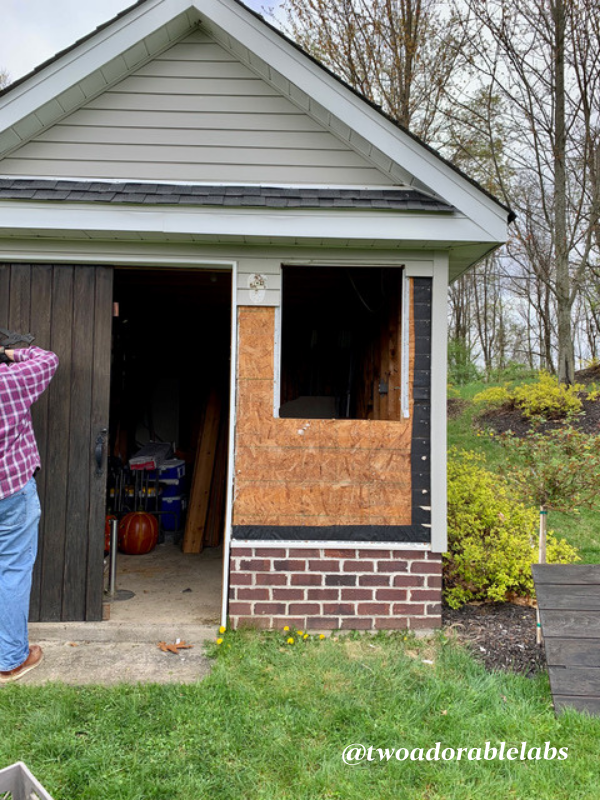
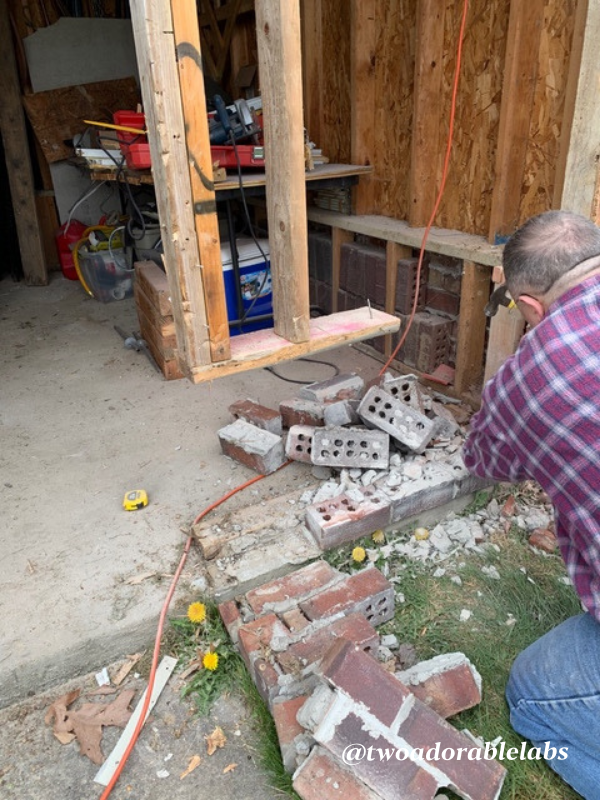
Thomas used a Dewalt Grinder with a wheel for cutting stone while I used a hammer to punch out any remaining brick. A DEWALT Diamond Blade, Dry or Wet Cutting, Continuous Rim, 7/8-Inch Arbor, 4-1/2-Inch (DW4701) from Amazon.
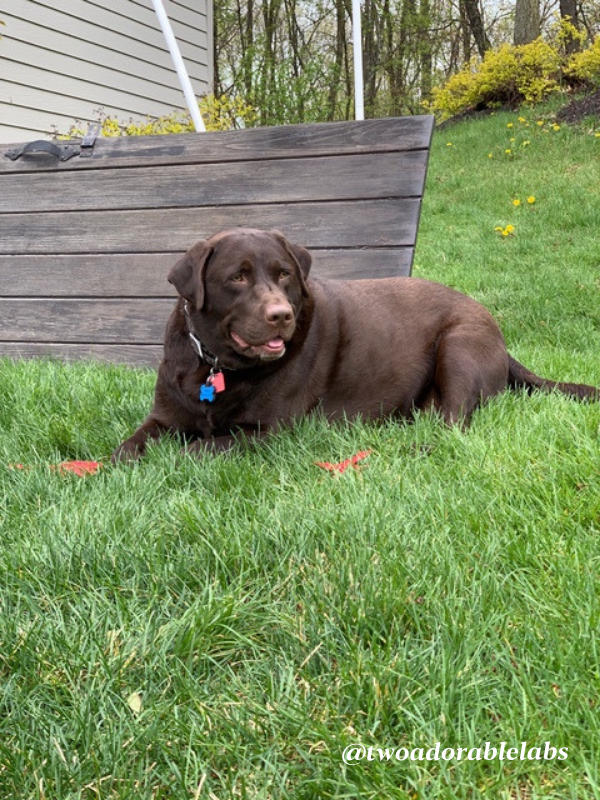
The old cedar door makes a nice backdrop for Jake.
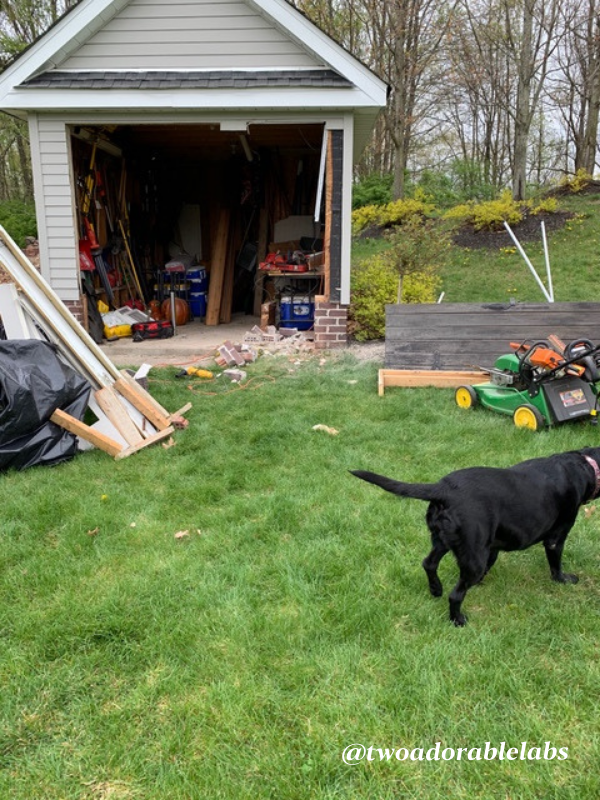
Day Two!
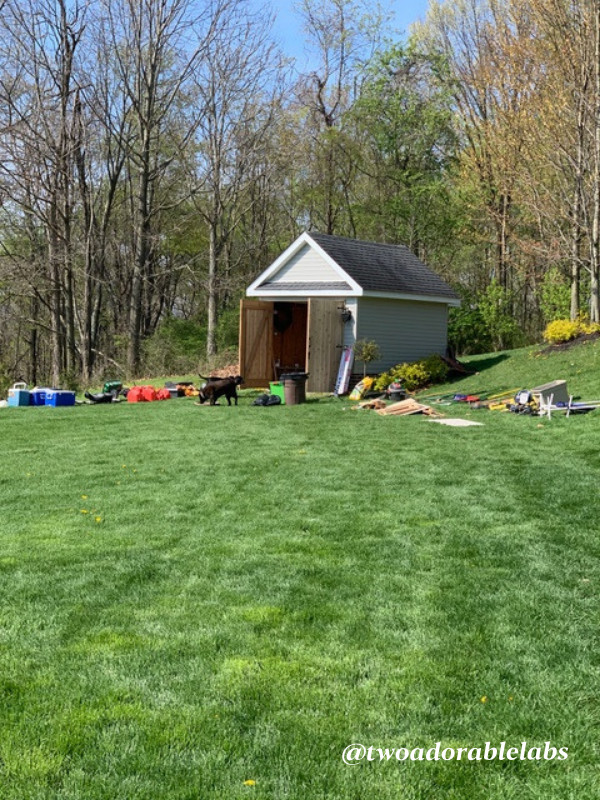
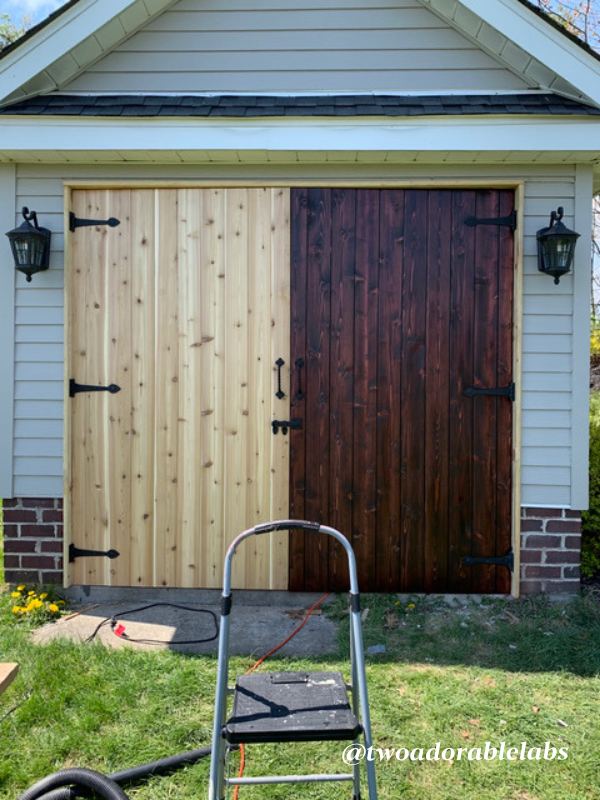
The new shed doors are up and Jake And Maggie are assessing the situation :-). The new doors were made out of new tongue and groove cedar planks using clamps to secure in place. Old Cedar planks were used to frame the back and zig zag across the door to stabilize and secure in place.
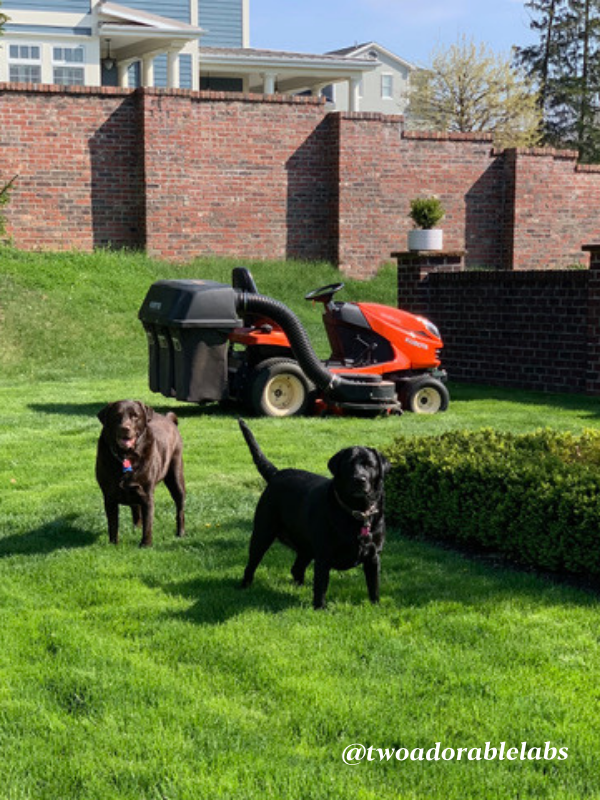
Here is the culprit…our GR2120 Kubota Tractor. We needed a wider doorway to be able to fit our tractor in the shed!
Day 3!
The doors were framed, new hardware was added, and lighting. I stained the doors a Mahogany color. The stain was put on with a brush and wiped off with a rag. The hardware was ordered from Amazon as was the two lights. We added an extra lock with key that we already had stored away for this project.
Iron Valley – 9” Twist Clover Barn Door Pull Handle – Solid Cast Iron
Barn Gate Door Strap Hinge Heavy Duty Hammered Wrought Iron Eye Tip 12″ Length 3 7/8″ Plate Renovators Supply Manufacturing Set Of 6
Iron Valley – 6.5″ Lockable Gate Bar Latch – Cast Iron
GYDZ Outdoor Wall Mount Light Fixture, Outdoor Porch Light With E26 Socket, Exterior Light Fixture Wall Mount , Anti-Rust Waterproof Matte Black Wall Light With Water Ripple Glass for Doorway,15’75”H
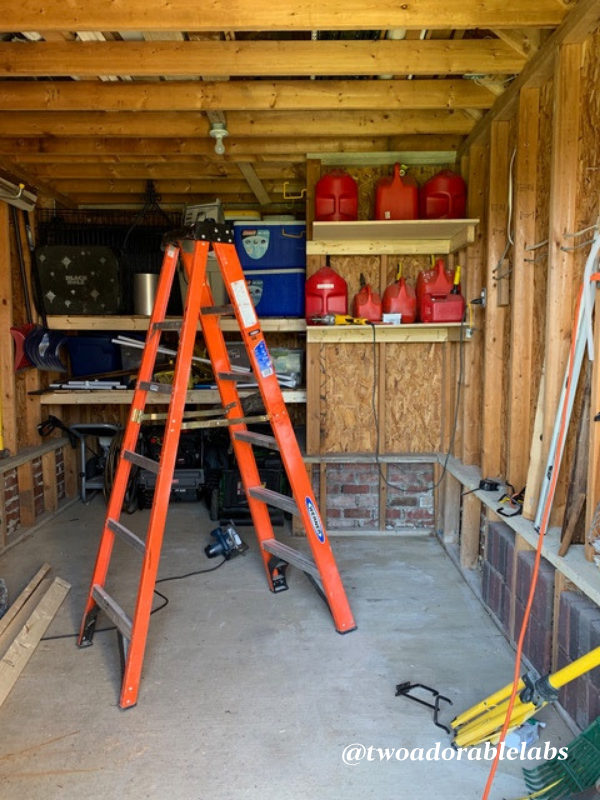
Thomas used wood from a previous project (more on that later) and added corner shelves for our gas and oil tanks for our mowers and weed eaters. The shelving in the back part of the “L” was added using two-by-fours and the old shed doors.
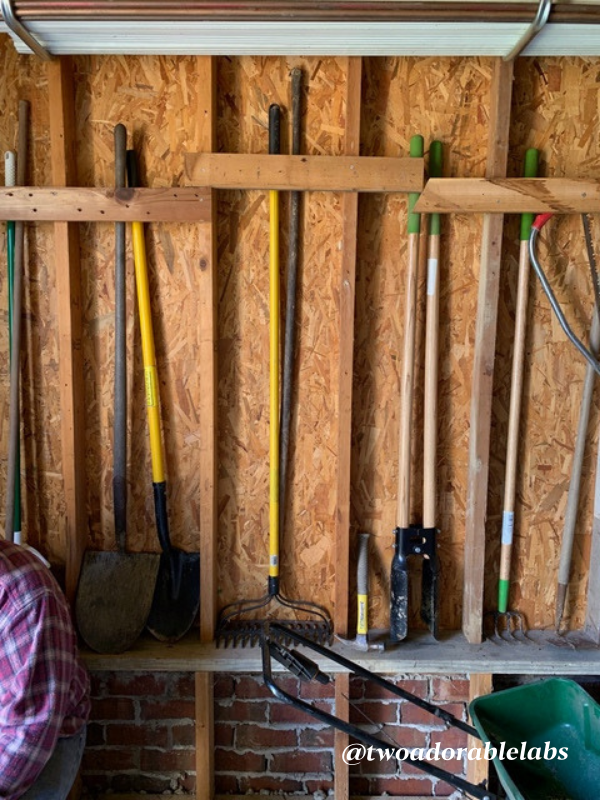
We pulled all the old nails out and added these wood slats to keep rakes and shovels in place. Thomas relocated electrical adding more lighting in the shed and more outlets.
The shed is complete. The only thing left is to finish our landscaping in front and extend the cement pad which I will post later once that is complete. Granted we had to lose a window but we added more lighting both inside and outside. The shed doors are so big that when opened, we won’t need that window. We used the old Hardy Board which was put back up using screws instead of nails starting from the bottom and overlapping on the way up. I painted the Hardy Board the same color as the shed and the house using Sherwin Williams Pussy Willow for outdoor use. The trim was painted bright white by Sherwin Williams. We bought the stain at Lowe’s.
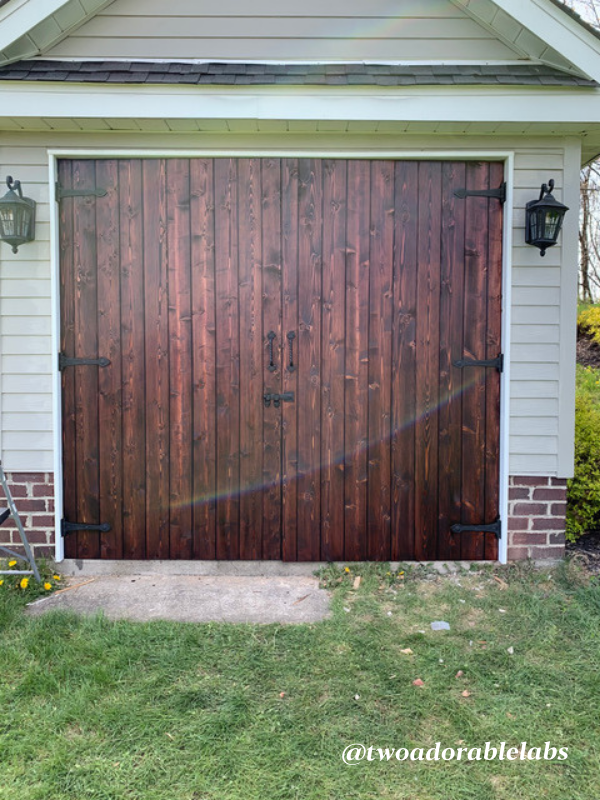
Maggie is incredibly happy the job is done :-).
Looking for more blog related topics, check out my previous posts here:

I love hearing from all of you and do my best to respond to each and every one of you. I always enjoy your comments, feedback, and suggestions so keep them coming! If I’ve posted a recipe (for our human and our furry friends) and you try it, don’t forget to tag me on Instagram @twoadorablelabs and use #twoadorablelabs.

You Might Also Like
Happy New Year + Fun In Pittsburgh, PA
Happy New Year everyone! Are you excited and looking forward to what the year will bring? Did you make any resolutions? I did! I do every year. Some I keep and some I don’t, but I’m excited to learn more about manifestation and manifesting what I want in both...
Eaton’s Overcurrent Protective Device Video
Happy Friday everyone! I created “Jake’s Garage” on Two Adorable Labs to showcase all home remodeling projects, garage and mechanic topics, and electrical safety. Jake is always with his daddy helping around the house so what better way to highlight Jake and create...


Good job!!! Looks very nice ????
Thank you! It went just as planned with no snags! Phew!
Looks great! Every inch in a shed counts. We just added electricity to our shed at the lake. Tim is so happy!
Thank you! Yes, so true! I wish the previous owners who built the house would have run water out there!
Well done Bobbi Jo and Thomas! Now you got it custom designed to suit your needs. Love the stain color on the double doors. It’s nice enough to be a she she’d! Lol! ????❤️
Thank you so much! Yes, I did think of a “she shed”… enter wink emoji :-).