
Gift Wrapping Ideas + How To Make A Bow Videos
Happy Monday everyone! We are day 12 into The 24 Days Before Christmas and I’m finishing up my post on How To Make A Bow Using Two Ribbons. Per my last post “How To Make A Bow” with instructions and video, I wanted to include the second phase of videos in this previous post I did a few years ago on Gift Wrapping Ideas.
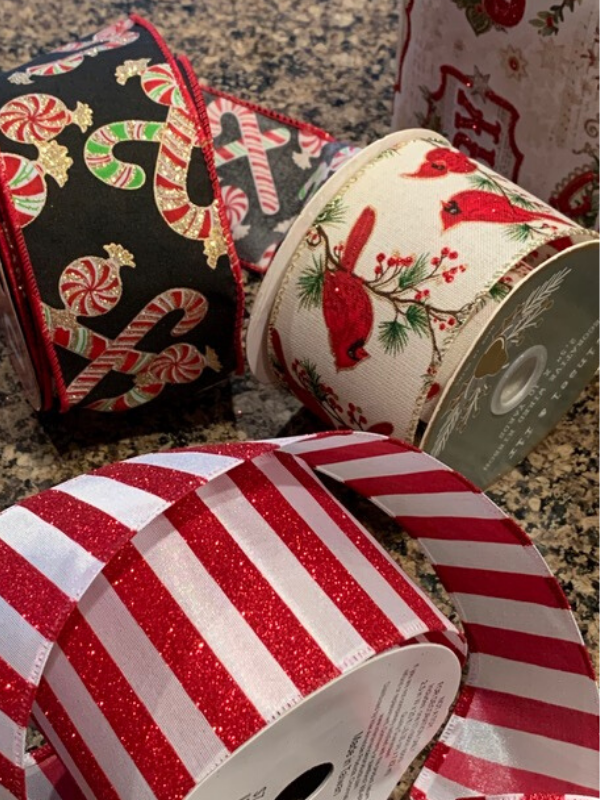
I though it would be fun to incorporate how to make a bow with two different sizes and patterns. I love ribbon and when I receive a gift where someone has taken the time to wrap it using matching tags, bows, and paper along with a custom handmade bow, I know they spent time and attention on my gift. You can always use two solid ribbons in complimenting colors, go crazy with pattern, find ribbon that is slightly different from one another in shape and size. You can be as creative as you like!
Please enjoy this post with my 6 “how-to” videos at the bottom of this post!
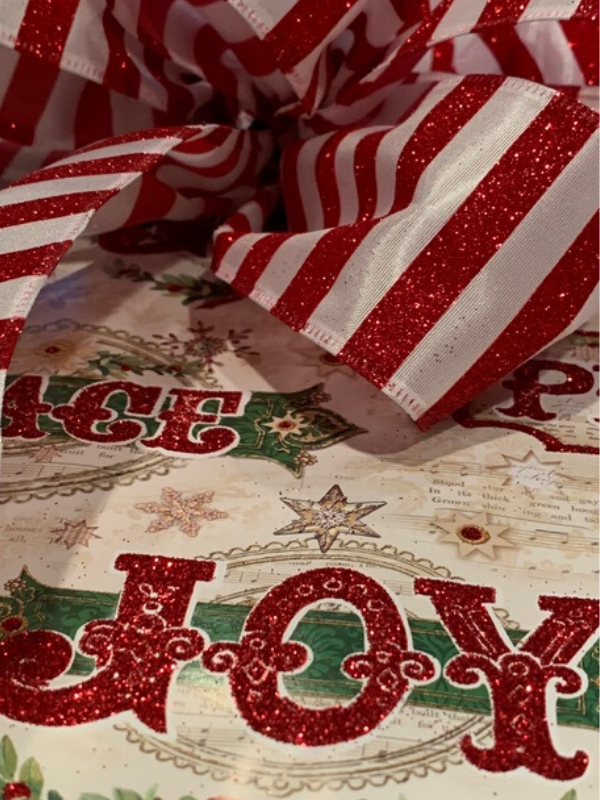
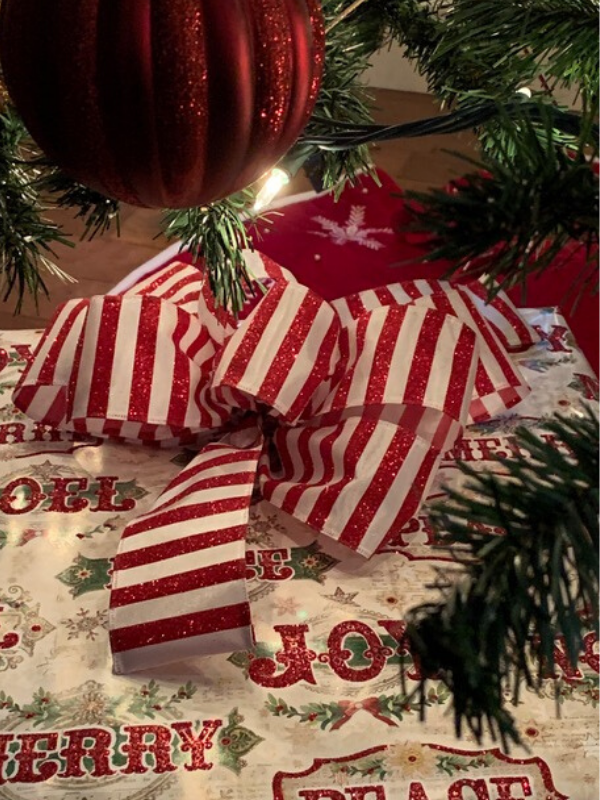
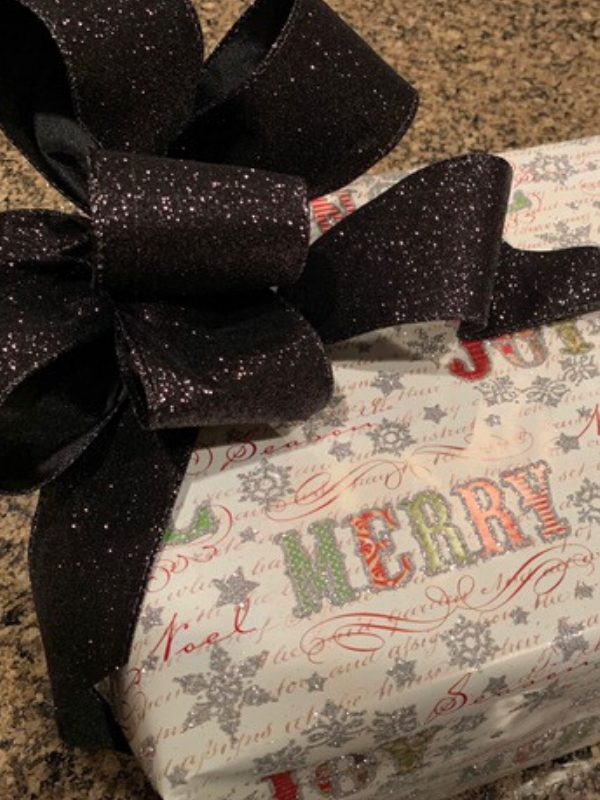
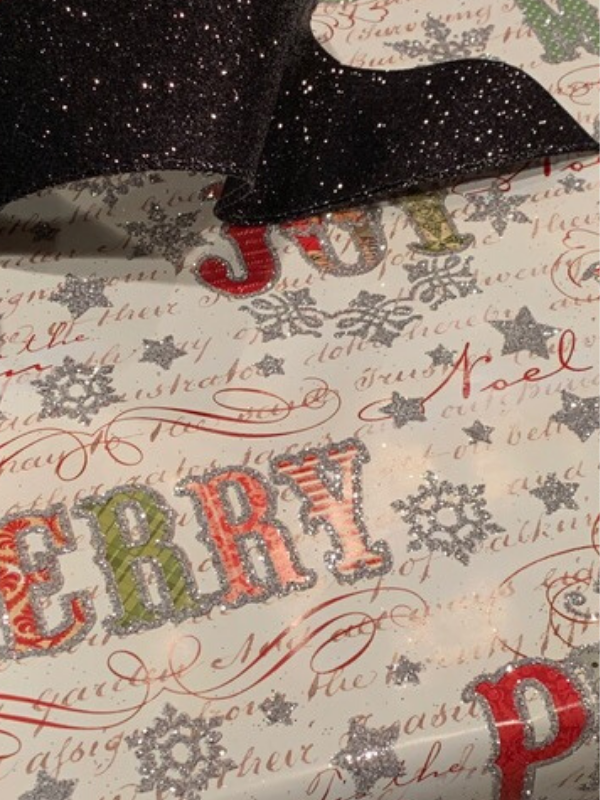
Match the ribbon with the paper and match the gift with the tree!
Our tree is done in the traditional red and white with gold and silver accents. When I found this paper at TJ Maxx last year and the ribbon this year at Hobby Lobby, I knew this would be the theme under the tree! It all matches perfectly. Word of advice: Beware of sparky paper! I love bling and sparkle but the glitter ends up everywhere! I don’t have to worry because this gift is for Thomas, but if you are exchanging gifts at a restaurant or someone’s house, they might not love glitter all over the place!
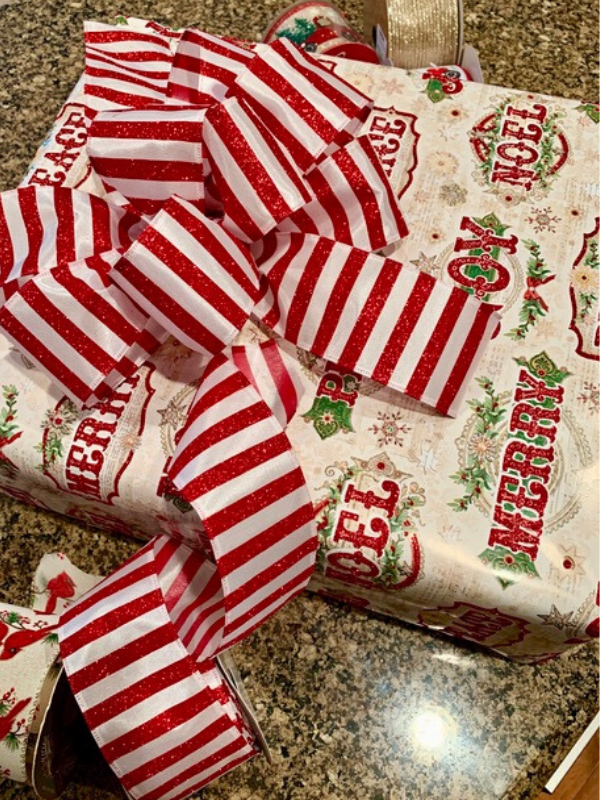
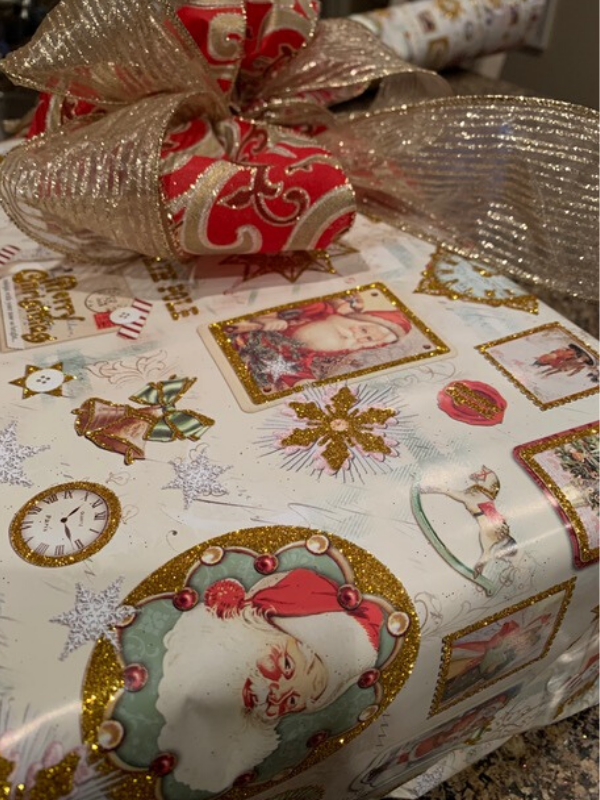
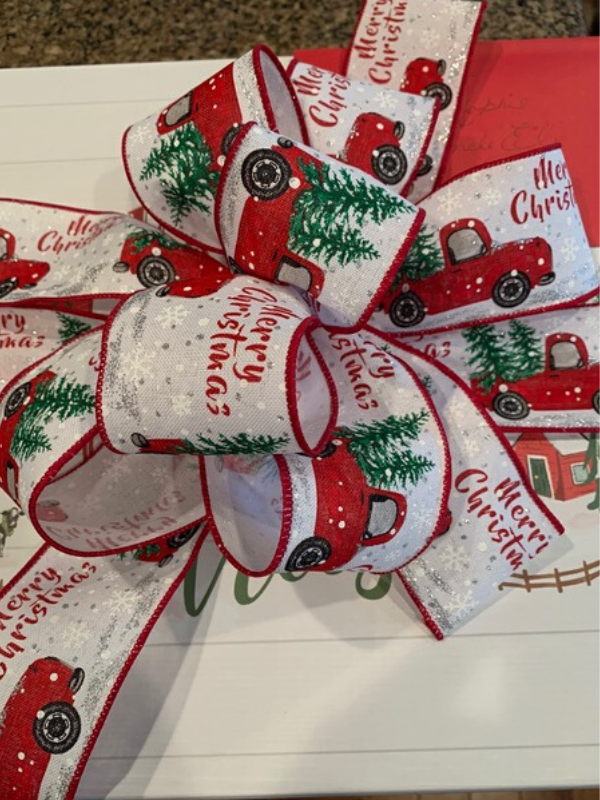
Double the ribbon for a more dramatic look!
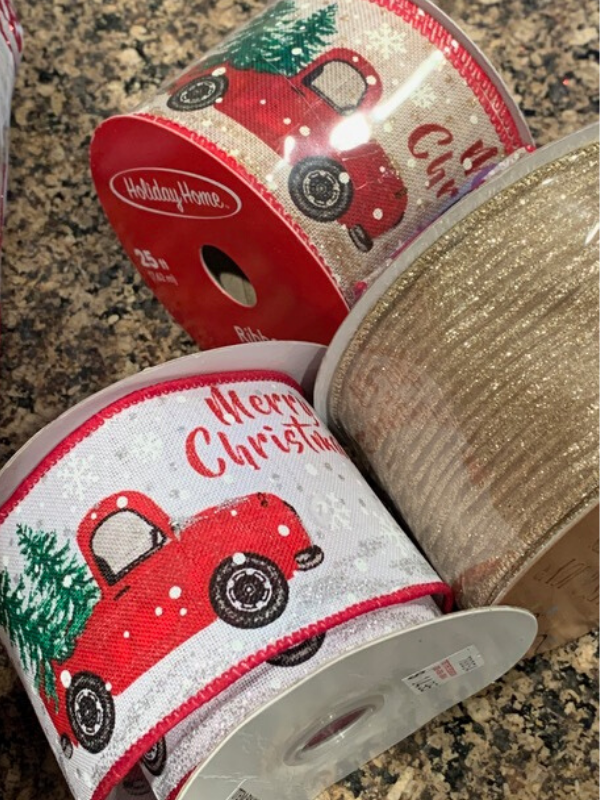
When I look at wrapping paper, I like choosing two of the main colors to work with and work my ribbon around that. I loved the light green in this wrapping paper but did not have the ribbon to match. Instead, I chose a neutral gold with a pattern that complimented the paper! I layered one on top of the other, twist tied the first loop and then added 3 loops on each side.

Make the bow the main focal point!
Make the bow the main focal point by picking a more dramatic color and choosing a size bigger than the gift. I’ve wrapped presents before where the bow covered the entire top of the gift. I also double the pipe cleaners by twisting 2 together, curling the ends around under the bow, and security with tape. This way, if the person receiving the gift wants to use the bow again, they have room to tie it to whatever they choose to or cut the ends of with scissors.
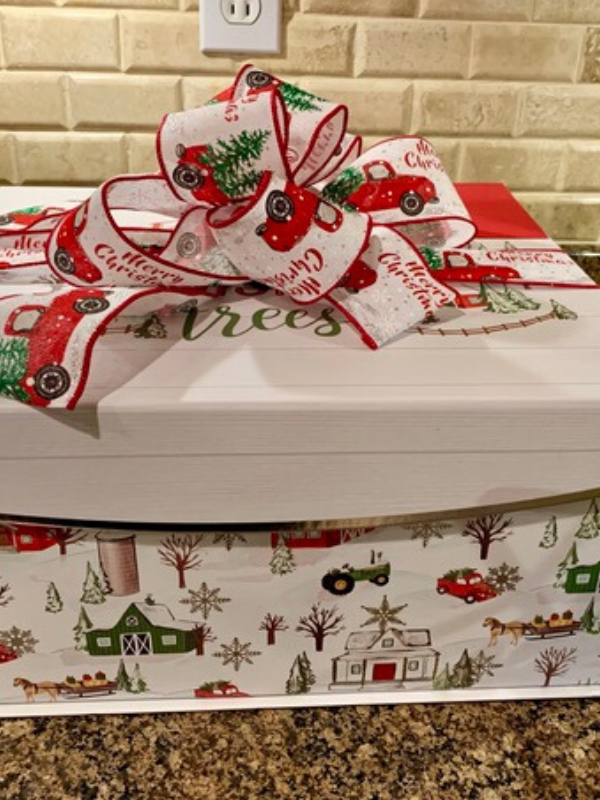
Save time wrapping!
For this gift, I found a decorative Christmas box with a velcro lid at Home Goods to match ribbon that I had bought last year in Sugarcreek, OH at their Christmas Barn. Using a gift box saves time and wrapping and gives the receiver of the gift a box they can use in the future. Just add a bow and you are done! Don’t forget to find some cute tissue paper! I love to open a gift and peek through the tissue paper to see what’s in the box! I think it also completes the wrapping and unwrapping experience.

- Look for sales on wrapping materials after the holidays.
- If you are like me and prefer a thicker paper, check out TJ Maxx, Marshall’s, Hobby Lobby, and Home Goods.
- Find a paper that has the grid lines on the back of the paper to help you cut a straight line.
- Place the top of your gift face down on the paper and tape the back of your box vs the front. This way when your gift is opened, the top will be facing up.
- Make sure you always buy heavy duty Scotch tape.
- Look for clear tape so it doesn’t show on the paper.
- If you are looking for a more organic look, buy a roll of brown paper.
- You can decorate your brown gift wrap with string, pine, herbs, or even silk flowers and berries.
- Sign the To: and From: in a thick marker and use a stamp to add a decorative flair. For example: Snowflakes!
- I’ve also added silk flowers to my presents to give a more feminine look.
- Use the suggestions I typed above.
- Store wrapping paper and bows in plastic bins and keep them organized by holiday, birthday, etc. I have found that with my glitter paper, using a garbage bag and tying the handles to a hanger, helps keep the glitter in place, and keeps the paper from bending. Try to re-use as much as you can because we all know gift wrapping can get expensive. I have a spot in my closet made just for my wrapping materials. One container holds tissue paper, one for bags, one for bows, and one for tape, string, pens, markers, scissors, tags, and pipe cleaners. I also keep a box of miscellaneous cards and thank you notes just incase I need them.
- I purchased a plastic clothes hamper and keep all of my wrapping paper rolls stored there.
- On occasion, I order from Current and I love their products. Their wrapping paper is top quality and the patterns are so pretty.
- Purchase decorative gift boxes which eliminates buying wrapping paper, tape, bowes, etc and reduces the time you spend wrapping gifts. It’s a great way to give two gifts at once. You give the gift and the receiver can re-use the gift box however they like.
- Purchase Sugar Plum gift boxes at Target to save you time!
- Want to make extra money around the holidays? Open up an on-line store selling products you enjoy and offer custom gift wrapping. Your customers will love it. That’s what Two Adorable Labs does. We offer custom gift wrapping when you make a candle purchase for our Candle Of The Month Club.
- Try matching your wrapping paper with a custom matching note card and attach it to your gift. I think it adds a special touch and looks so put together.
How To Make A Bow Using Two Ribbons In Two Different Sizes
Sky is the limit with making your own DIY bow! Have fun with it and enjoy. If it doesn’t turn out the way you planned, just start over. Straighten out your ribbon and proceed again. Worst case…you have to buy new ribbon. If you don’t have pipe cleaners, use crafting wire or twist ties! I always buy more ribbon than what I really need. This way if I mess up, I don’t have to run to the store again. What is left over, I’ll store for another time.
1. Per my last video, I twisted the two ribbons together and made my first loop. It is important to allow enough ribbon to make your streamers before making this first loop. Also, I love using ribbon that has a wire edge. It’s easier to use, allows for a better shaped bow, and holds up better to weather if you are using it outside.
2. Proceed by making your first loop, twisting at the center, and keeping the pattern on the ribbon face up towards you. Proceed making your loops on each side the same way. You will get a bit caught up as the ribbons get tangled but no worries. Just straighten out your ribbons and move along.
3. Decide how many loops you want on each side. The more loops you make, the bigger your bow will be. Also be sure to make each loop a little bigger than the previous loop on each side.
4. I always take two pipe cleaners and twist them together to make one big long one. Loop the pipe cleaner around the middle of your bow and underneath twist it securing the loops together. Make sure it is tight. If it is not, your bow will fall apart. Make sure your pipe cleaner is under your bow and cannot be seen.
5. Now it is time to shape your bow. Pull each loop apart so that the ribbons and patterns are showing. Fluff up each loop with your hands making the loops puffy. Make sure the pipe cleaner is under your bow facing down, is not showing, and is a tight fit before spreading out the streamers. You should have two on each side. Cut your ribbon the same way on each streamers so it looks cohesive.

You Might Also Like
What Does Guaranteed Analysis On Pet Food Labels Mean?
Happy Wednesday, everyone! What Does Guaranteed Analysis On Pet Food Labels Mean? When I used AI to generate an answer, it gave me the following short version. I then researched to give you a more detailed description. If you are ever curious about a pet-related...
20 Fascinating Dog Facts
Happy Wednesday, everyone! I thought it would be fun to post these 20 Fascinating Dog Facts and see if you have heard of these before. I hope everyone had a nice Easter and spent time doing something fun. I cooked, and everything went as planned. I made it easy...
Easter Table 2026
Happy Easter, everyone! I created this Easter Table 2026 to give you some inspiration for some simple ideas and a quick tablescape. I chose these bow plates and green placemats, which are out of stock now, from Hobby Lobby, added a floral arrangement I made years...
WHAT A GOOD LOOKING COUPLE——GREAT PHOTO OF YOU TWO! CHECKED OUT ALL YOUR GIFT WRAPPINGS & LOVED THEM ALL INCLUDING YOUR TIPS. YOU SURE HAVE THE GIFT FOR COMING UP WITH ABSOLUTELY CREATIVE DESIGNS !!!! IT’S A JOY LOOKING & READING YOUR BLOGS!
Thank you! I have to admit that I was afraid I wouldn’t have enough ideas and as I typed, they just kept coming! I ended up feeling pretty good about this post.
The ribbon and paper look so pretty! I am definitely a just get it done wrapper????
LOL! Well, at least you wrap them :-).
Good morning. Today is the day I begin to wrap. I can’t wait to use your bow tips! Thank you for the great videos. You have real bow talent that’s for sure!
That is awesome! I timed this blog post perfectly. If you have any questions, don’t hesitate to ask. Glad you find the videos helpful. Happy wrapping!
Wow such great ideas! I never thought about planning a theme for my wrapping paper so it’s coordinated with my tree. I always had a miss mash variety of wrapping paper. But next year I’m going to implement some of your crafting ideas which are top notch I might add. So enjoyed this video! ????❤️????????
I’m so glad you enjoyed the post! Yes, I do like everything to match :-). I’m happy the videos are helpful. I broke them up into 6 so it will be easier to follow and learn. I hope that helps too.